Quick and easy DIY notebook
You know those days when you’re just feeling like you can take on the world? The sun is shining rays of happiness, the wind is blowing a soft coolness of change and everything is going your way. At that moment you want to spill out the happiness and save it somewhere nice.
With this easy and quick guide on how to diy your own notebook you can make a dedicated notebook for all your positive musings. You can make it any size you want, any thickness you want and make it a beautiful place mirroring your beautiful personality.

Now let’s make this as easy as we can. You can follow the pictures for a quick overview. If you need more in depth guidance you can follow my directions.
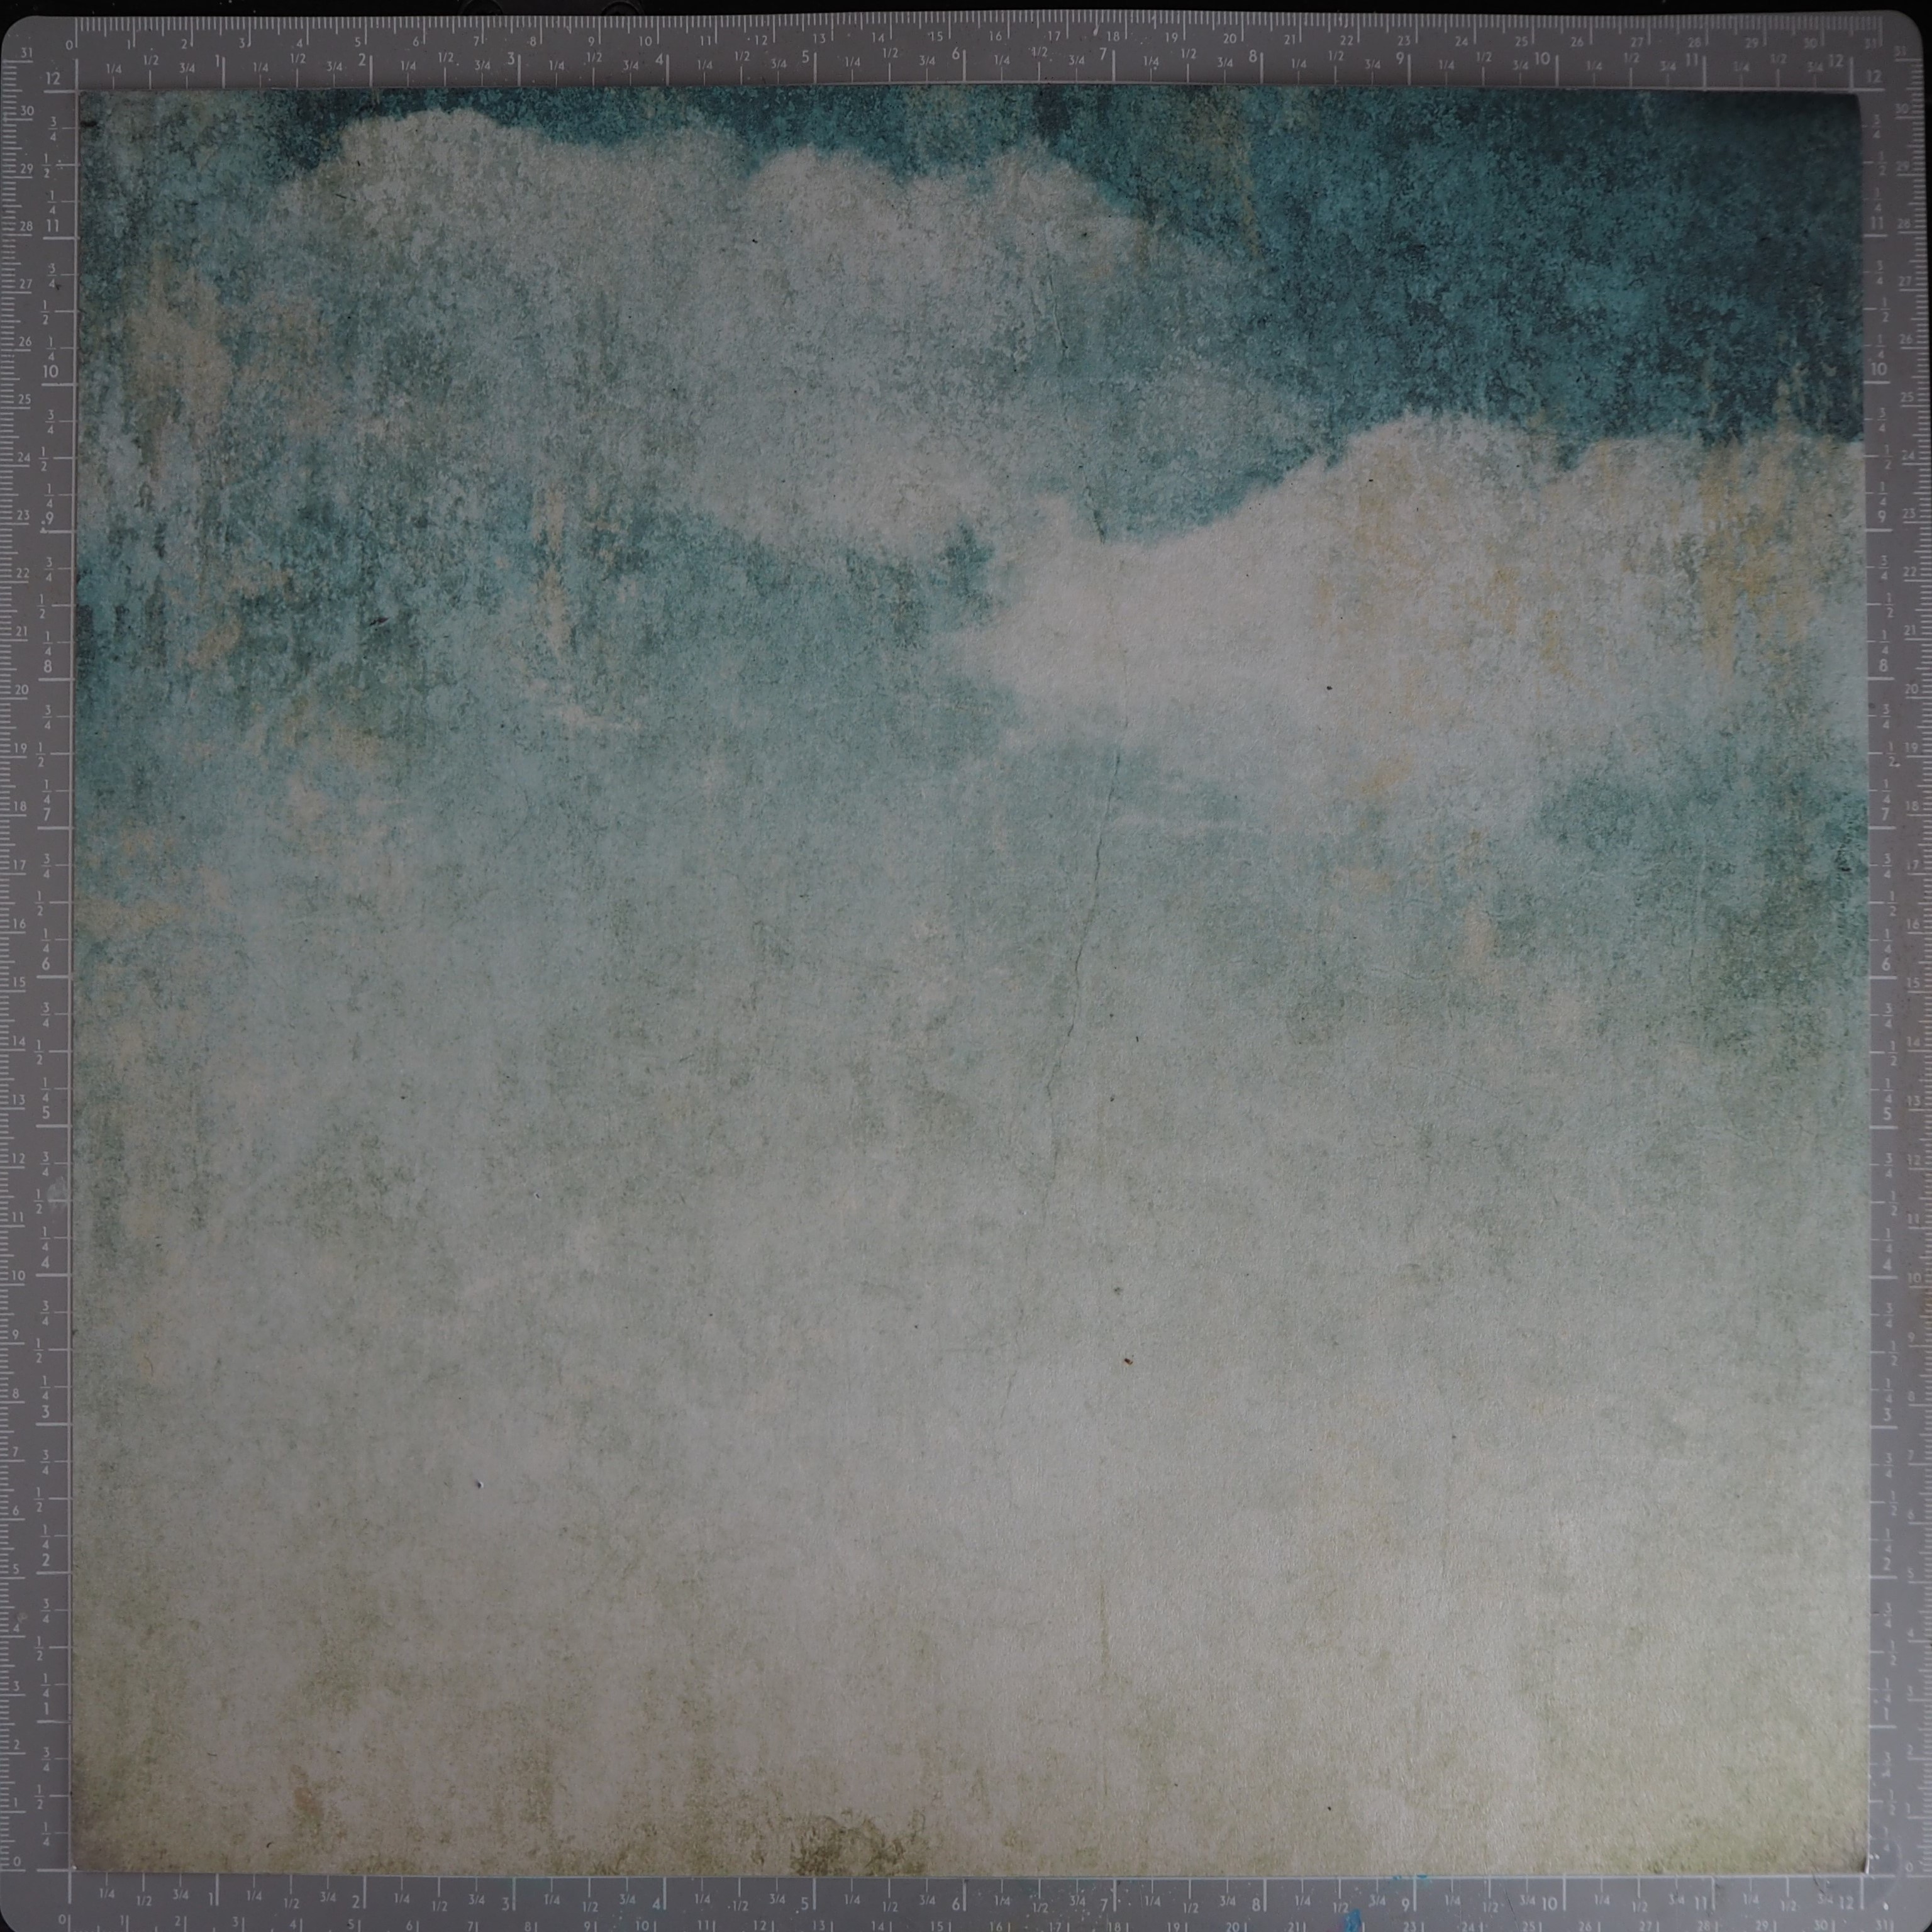
Take a pretty card stock you want as a cover.
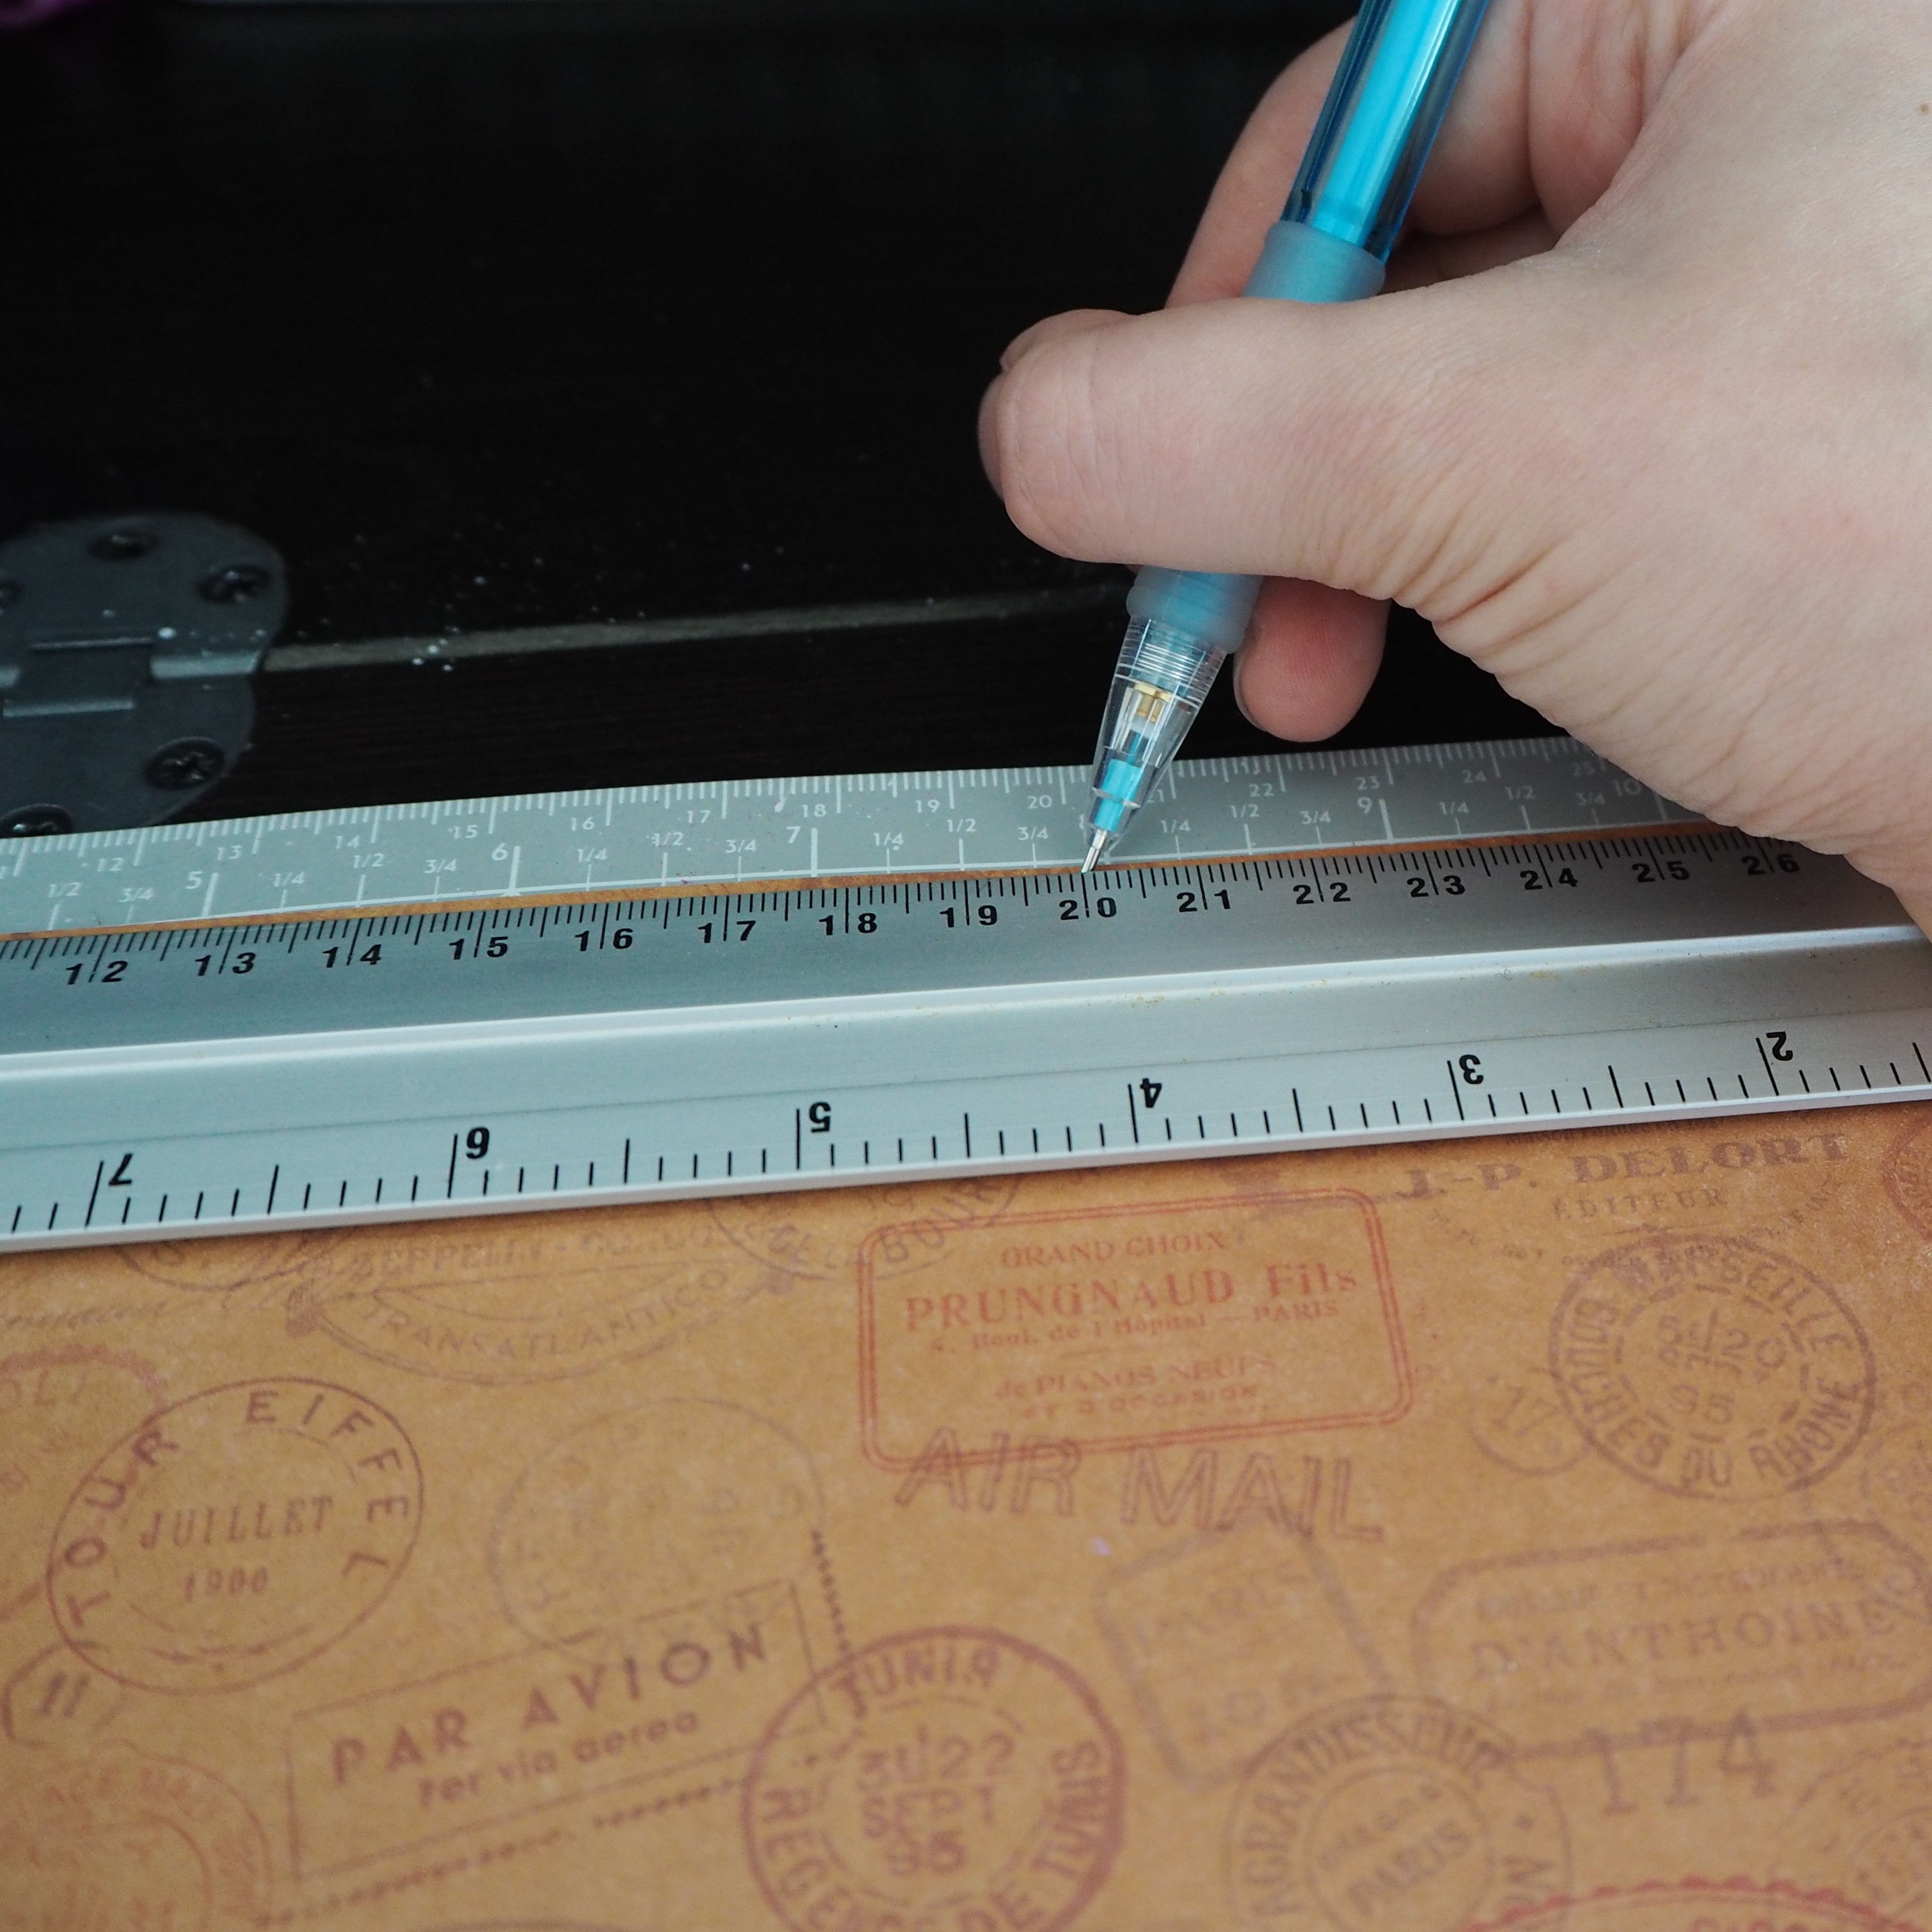
Draw out the dimensions of your notebook. You want a front and back cover, so make sure you make the size double as wide as the notebook is supposed to become.
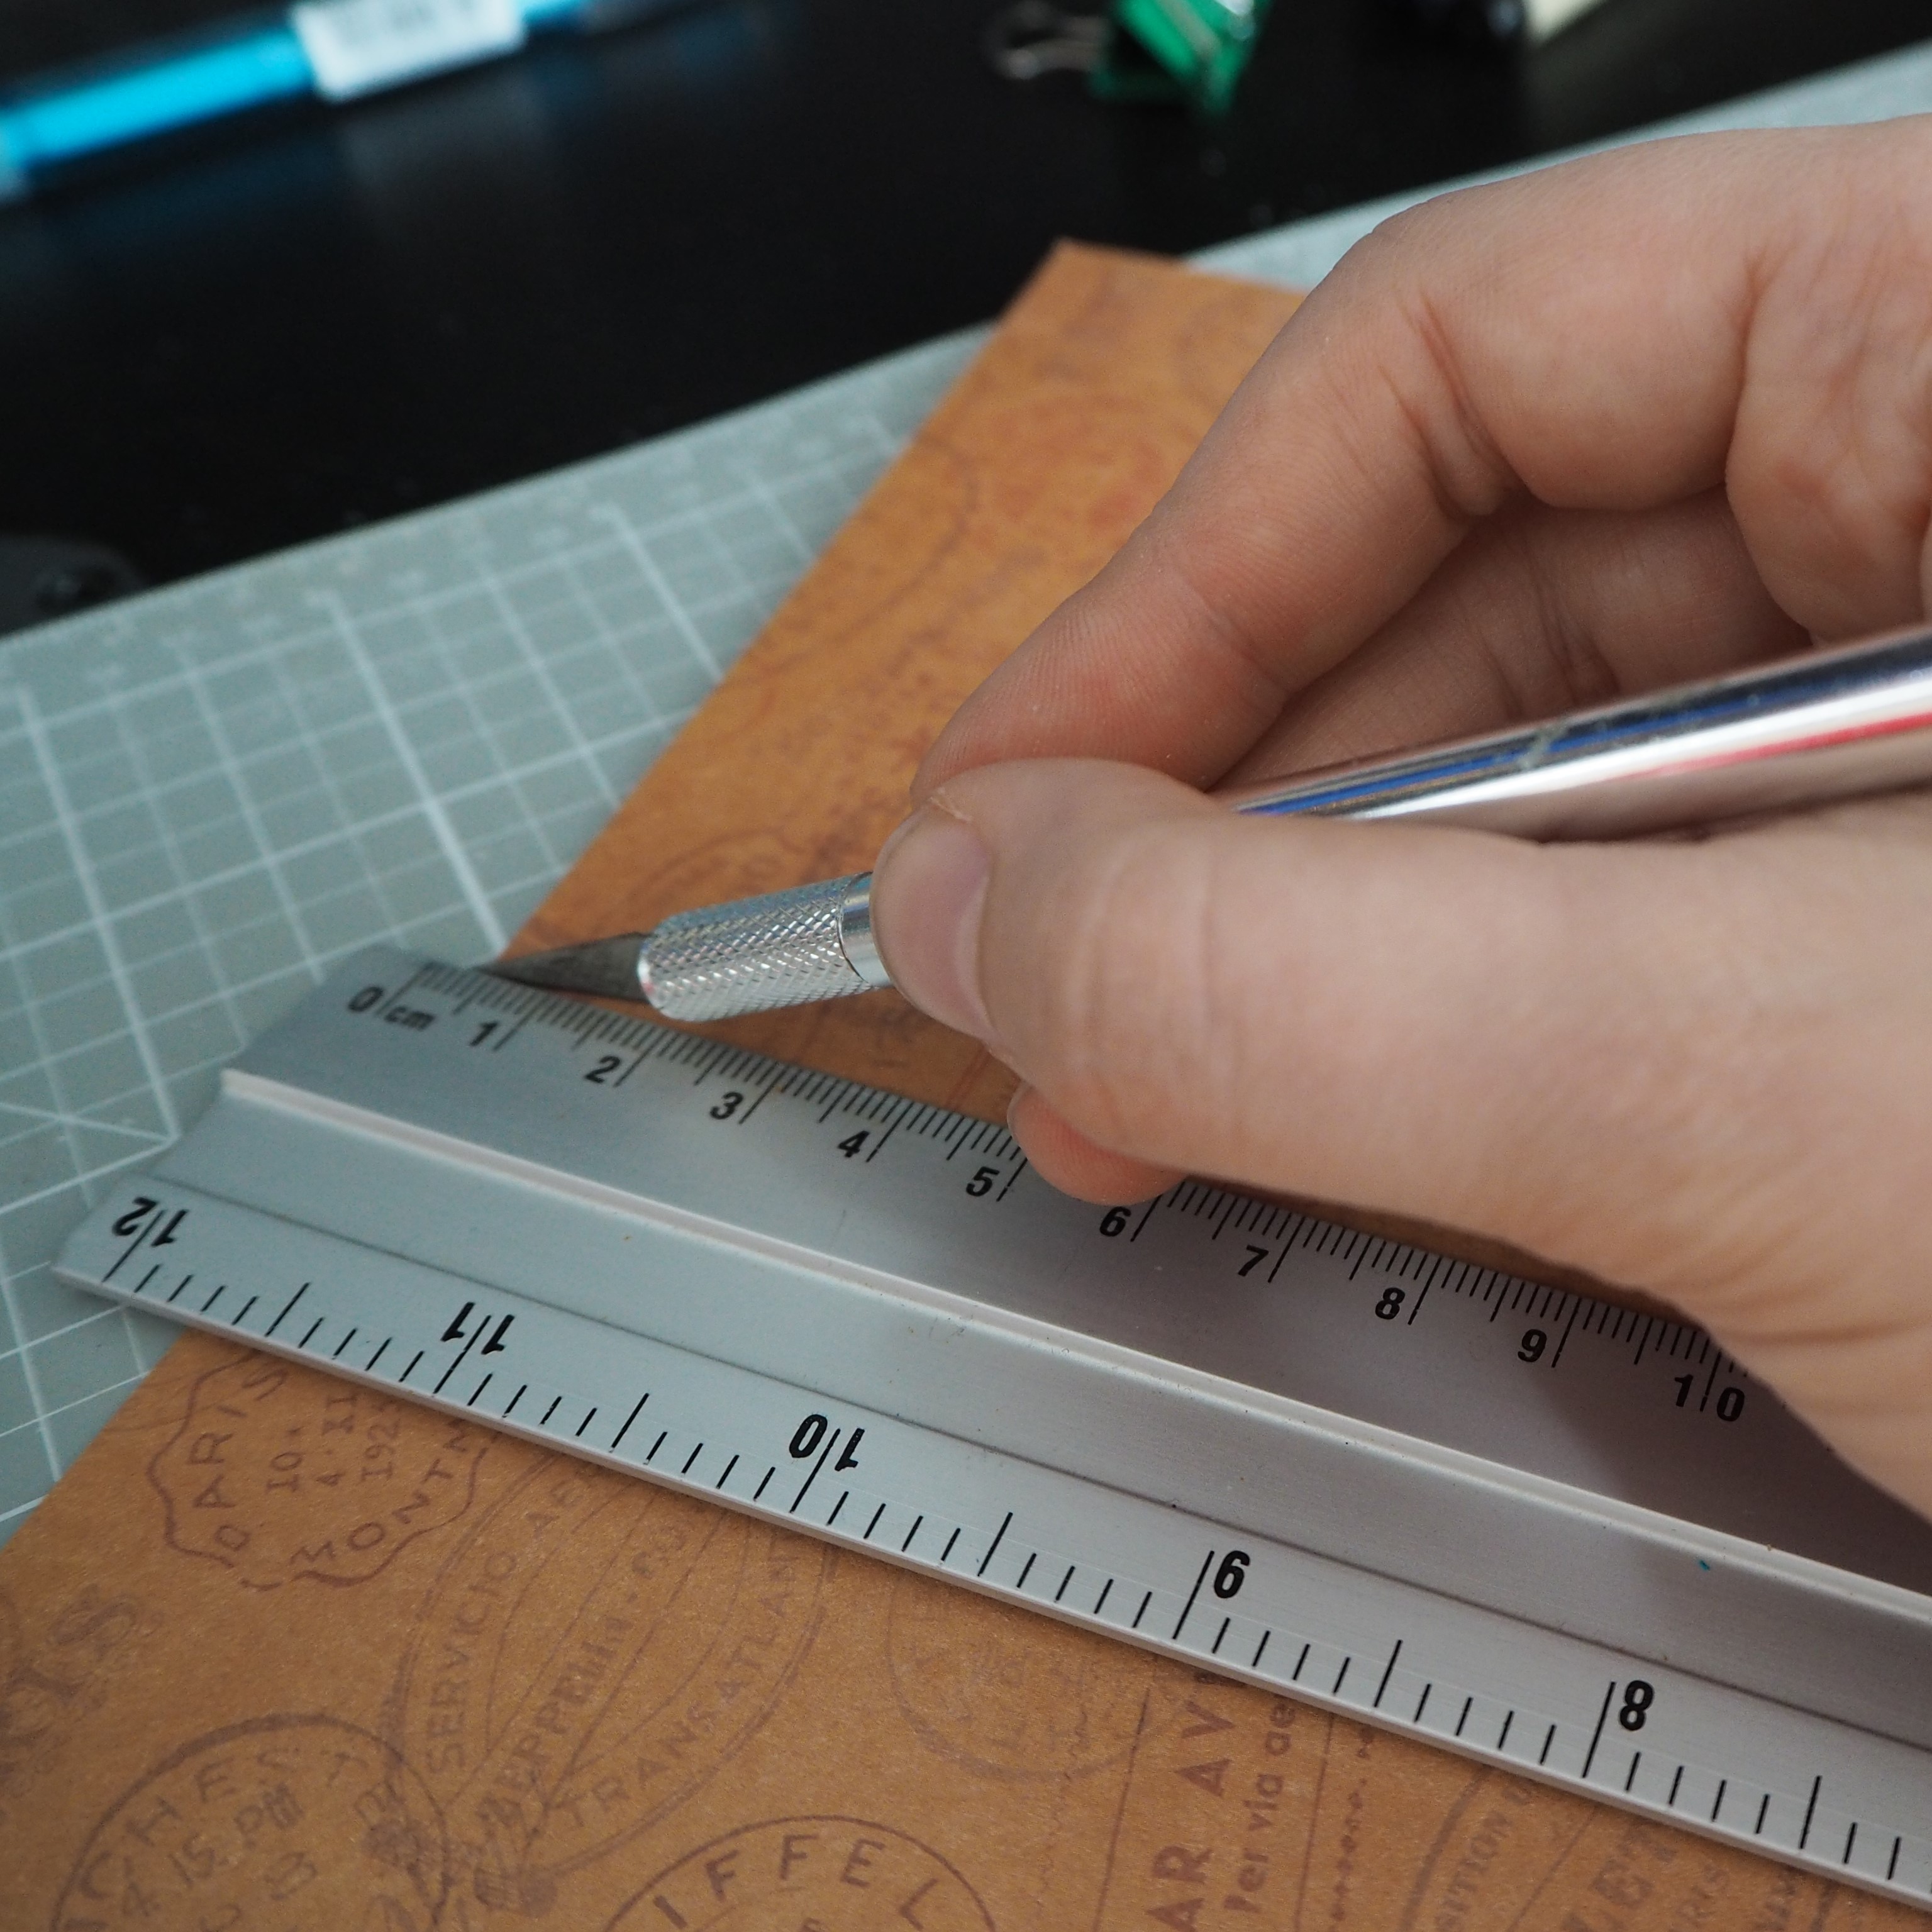
Using a metal ruler and a craft knife cut out the shape you’ve drawn out.
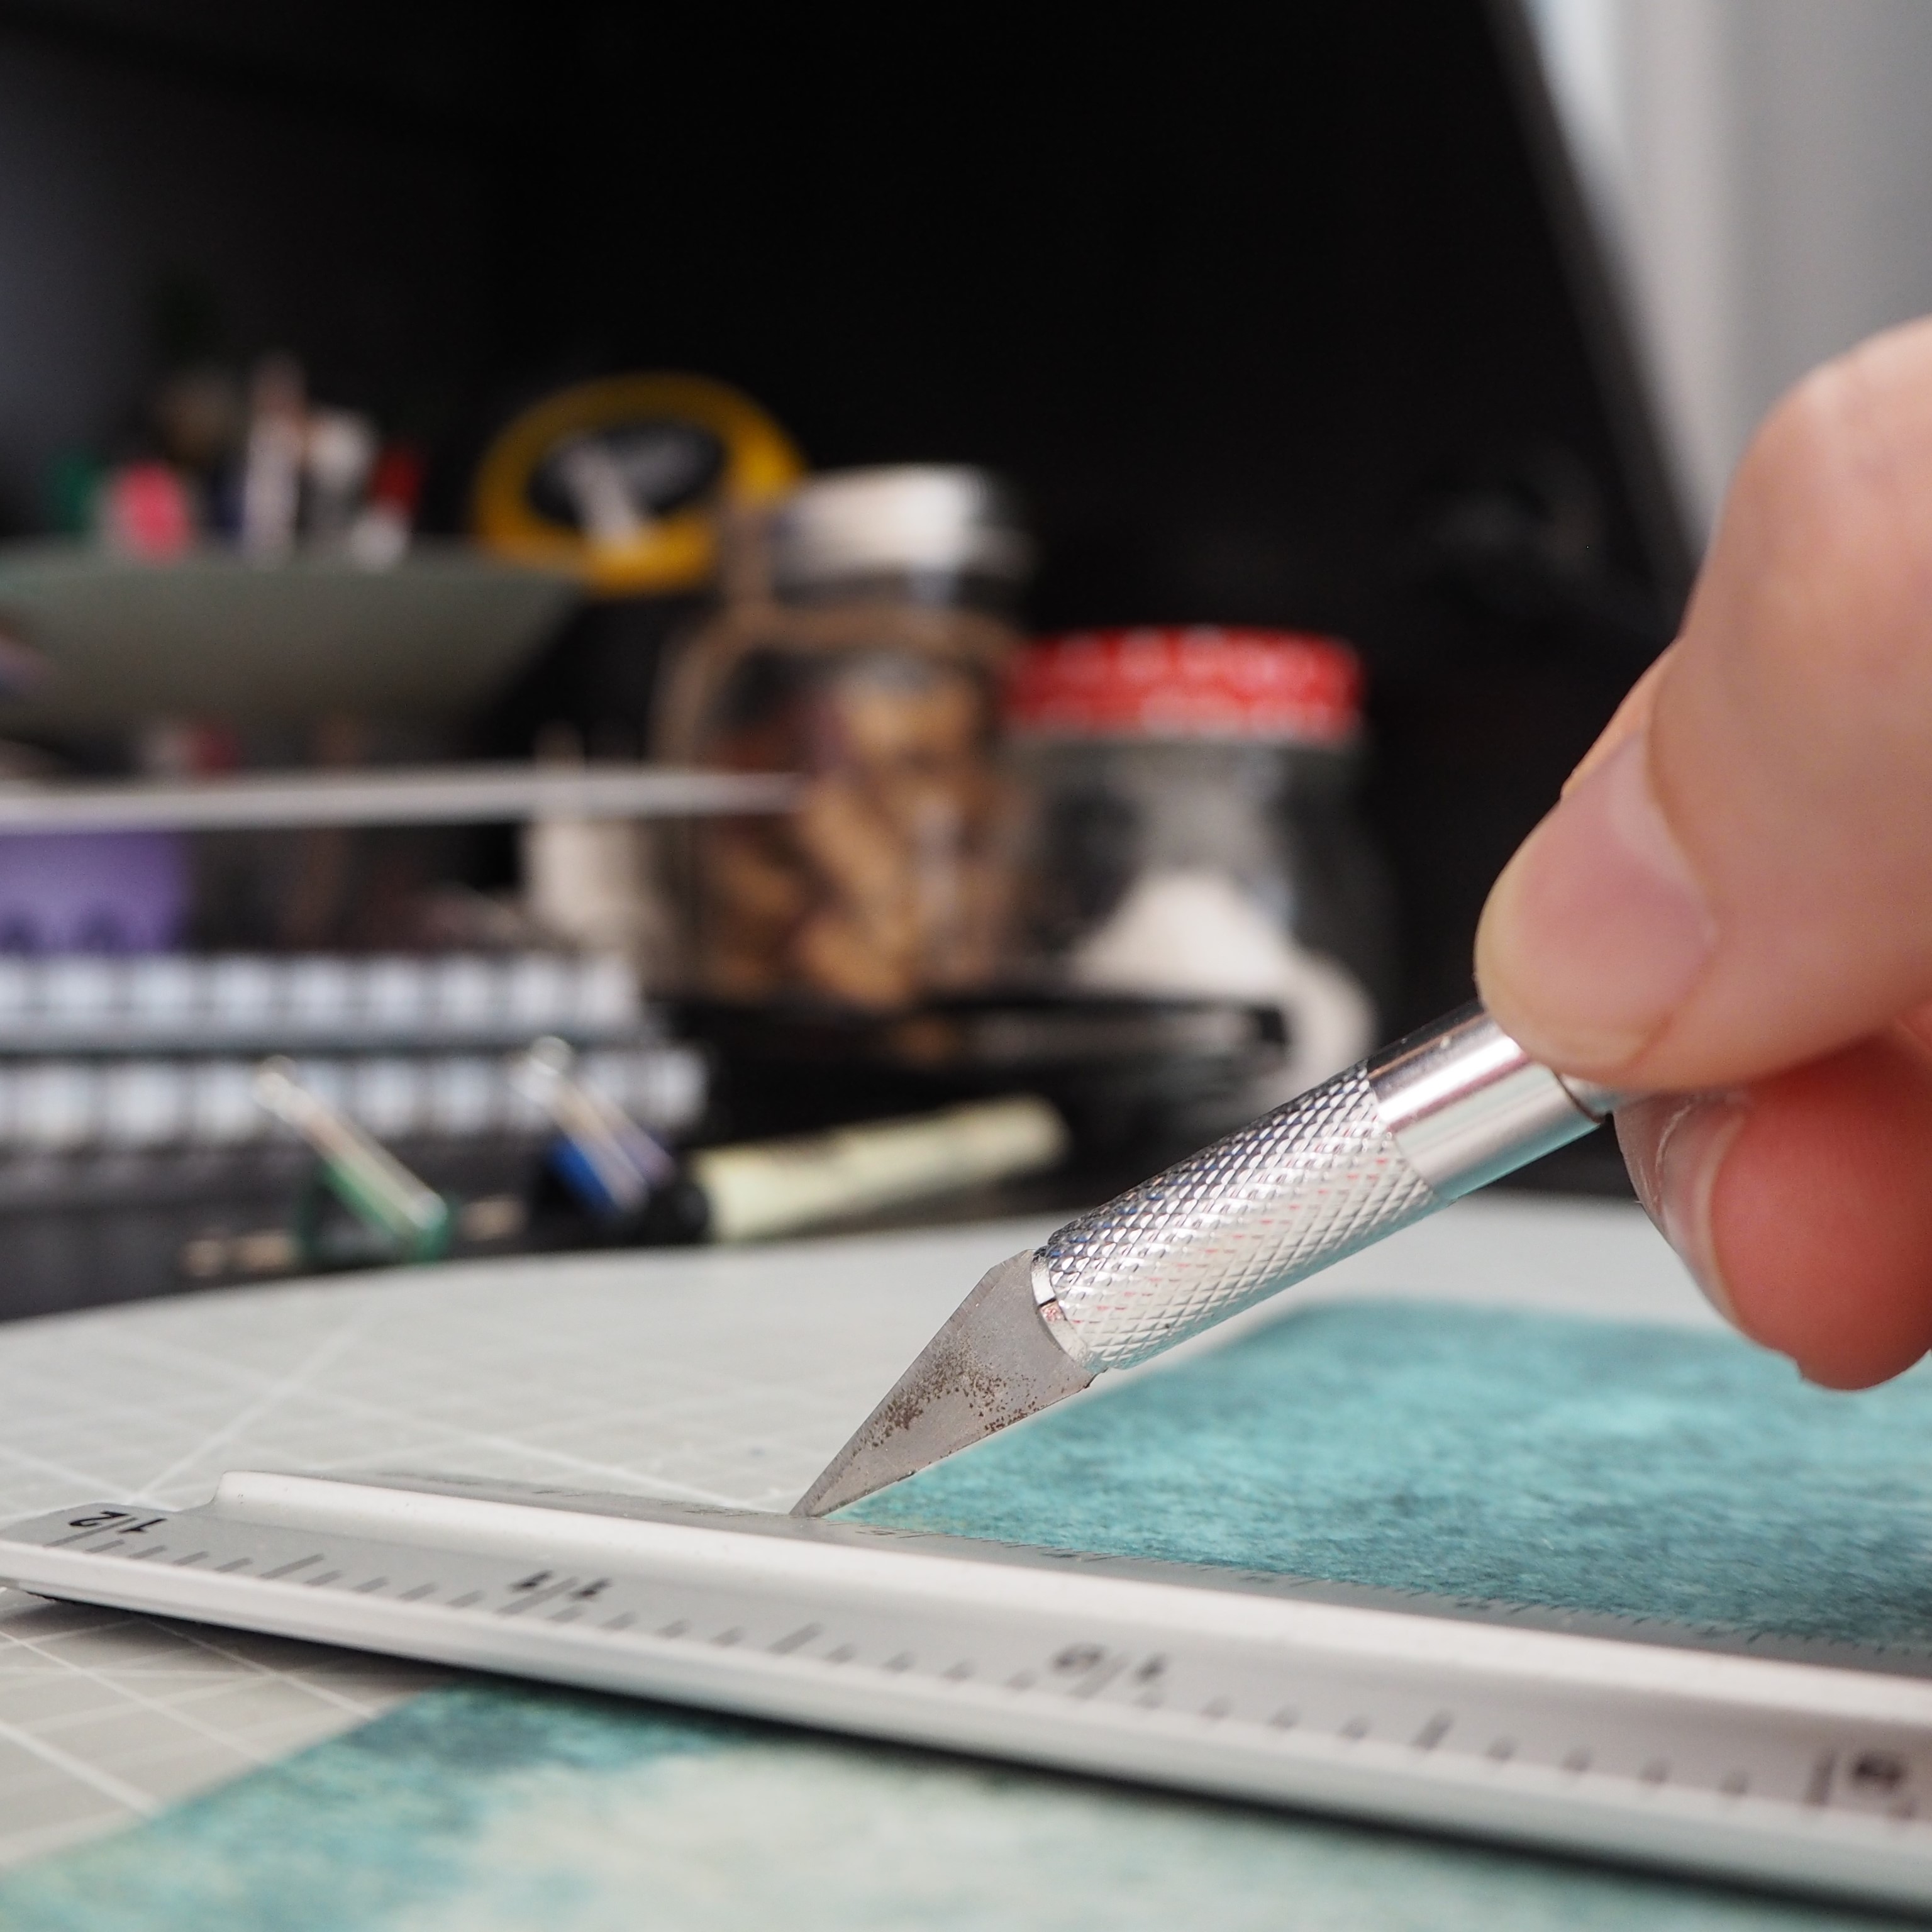
Measure out the middle of your cover and on the outside score with the blunt side of you knife or a bone folder.
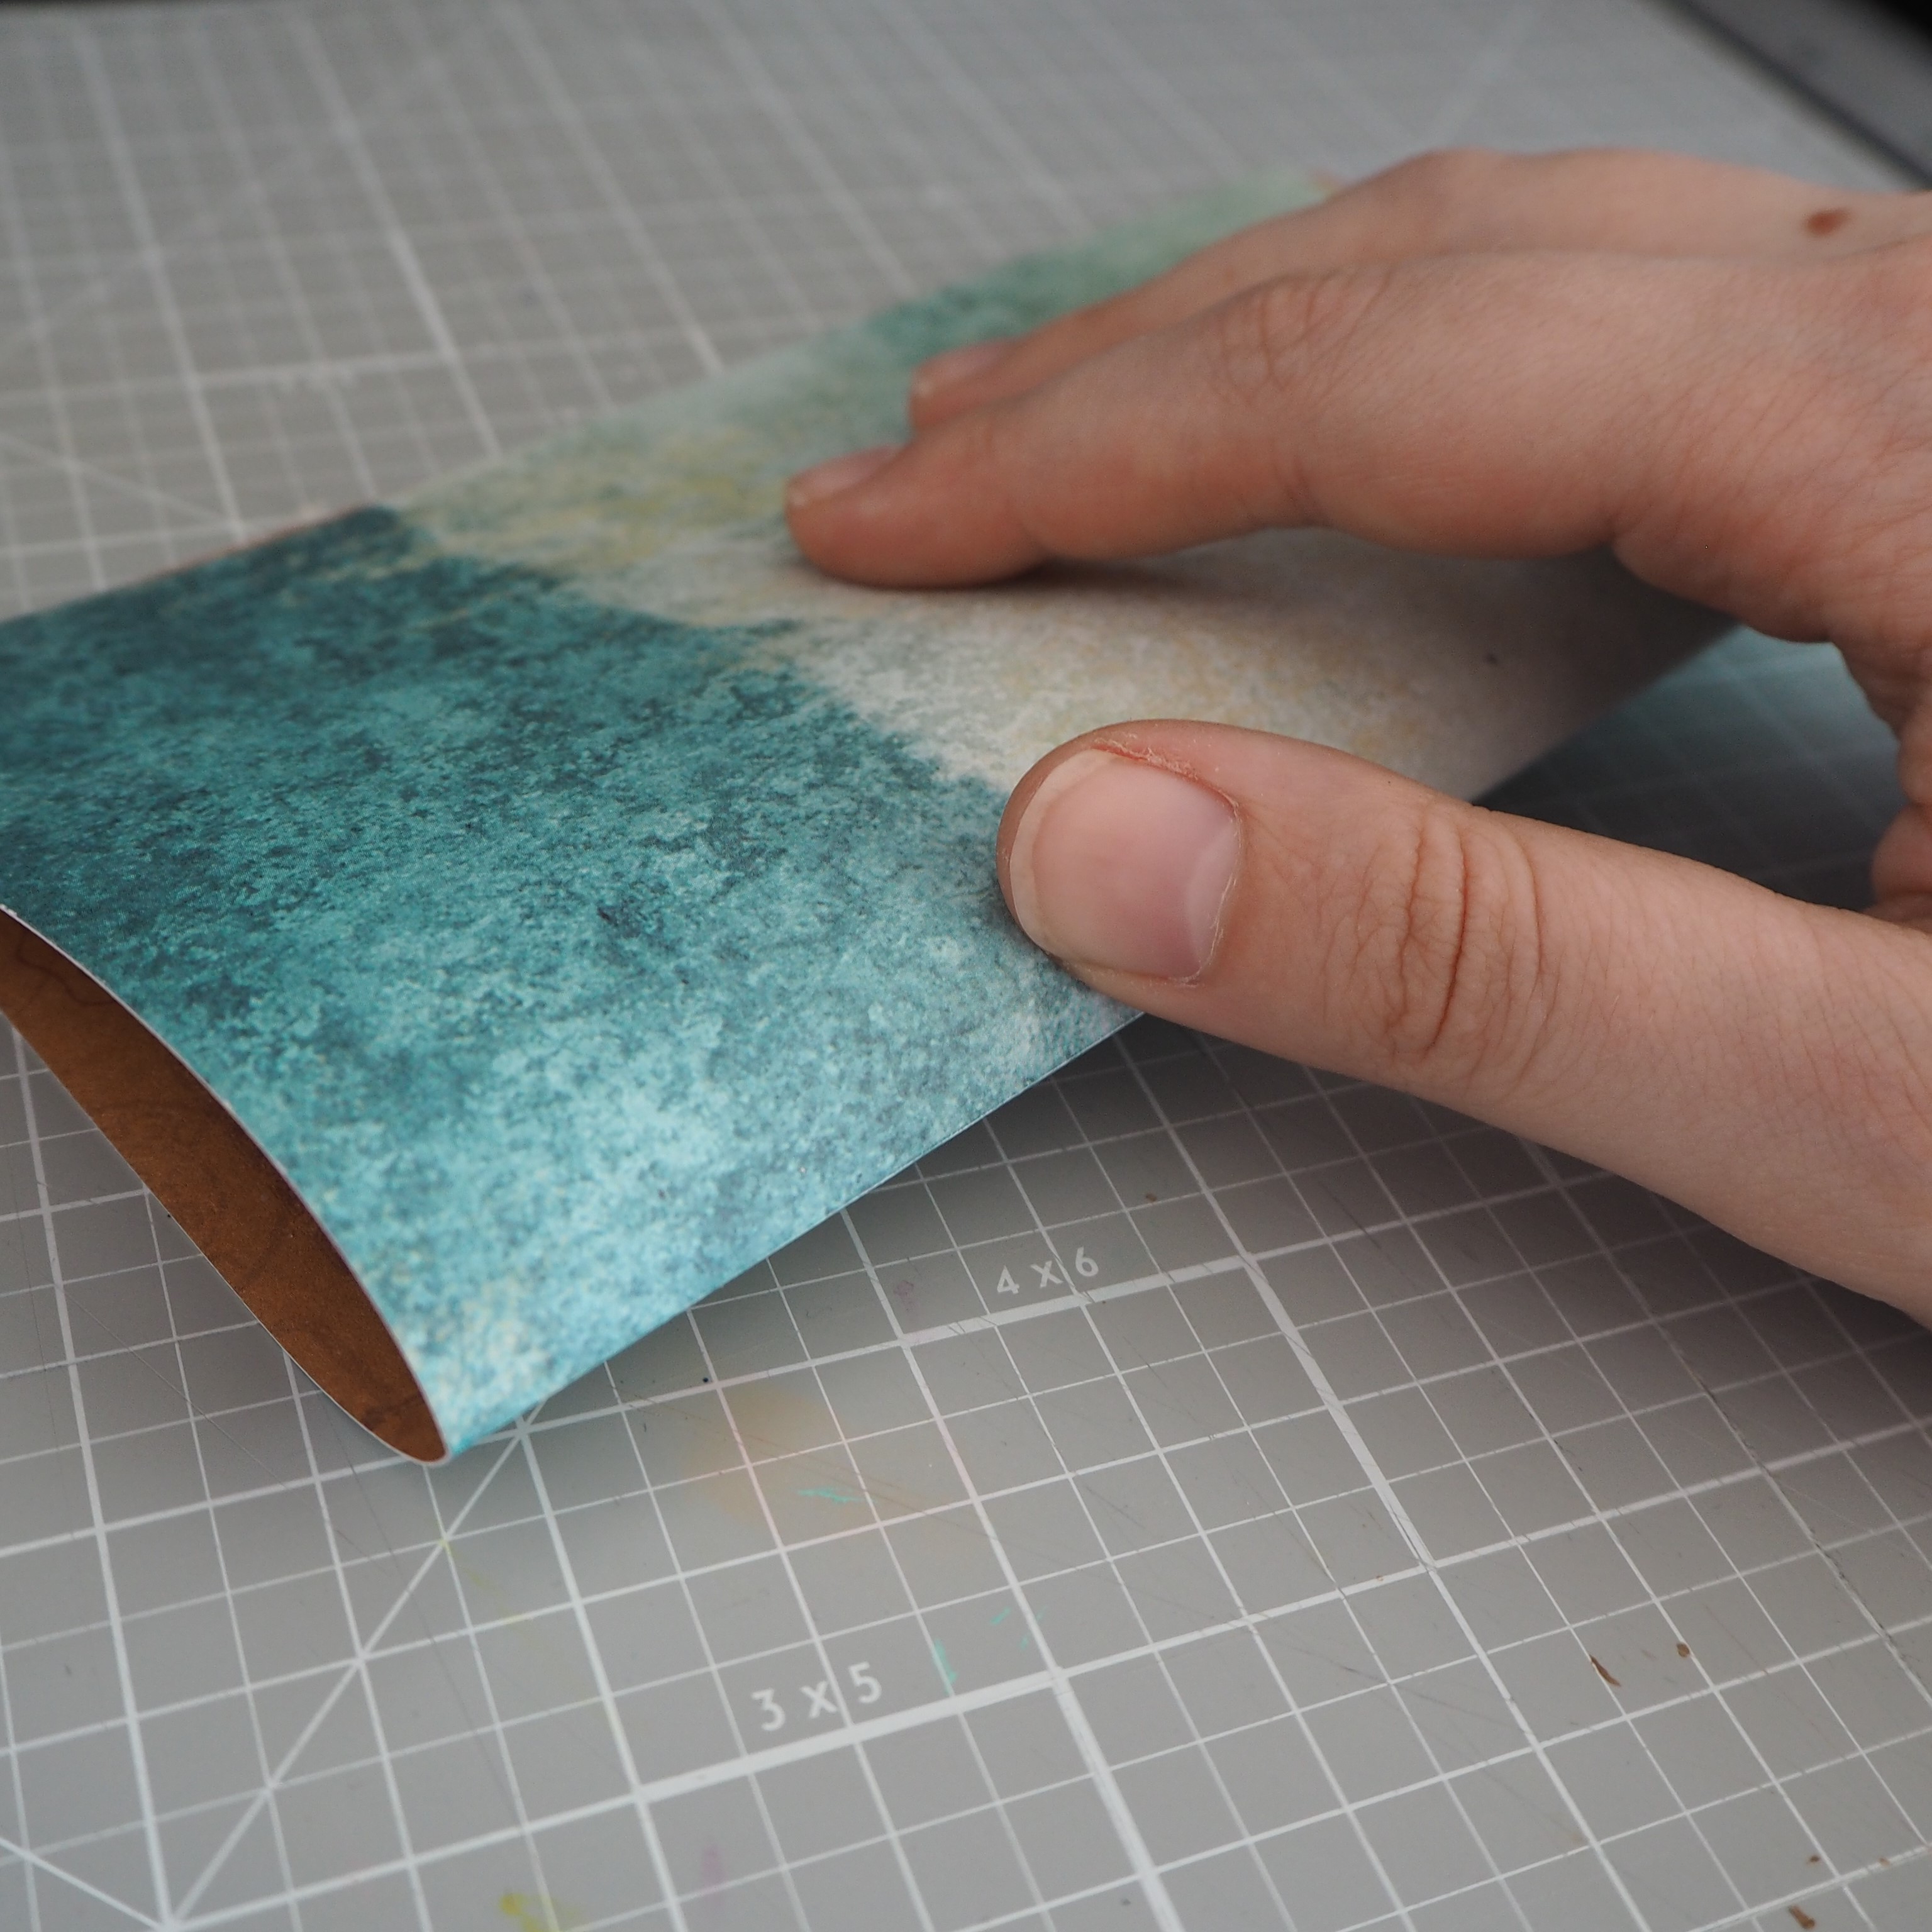
Fold your cover using the score line.
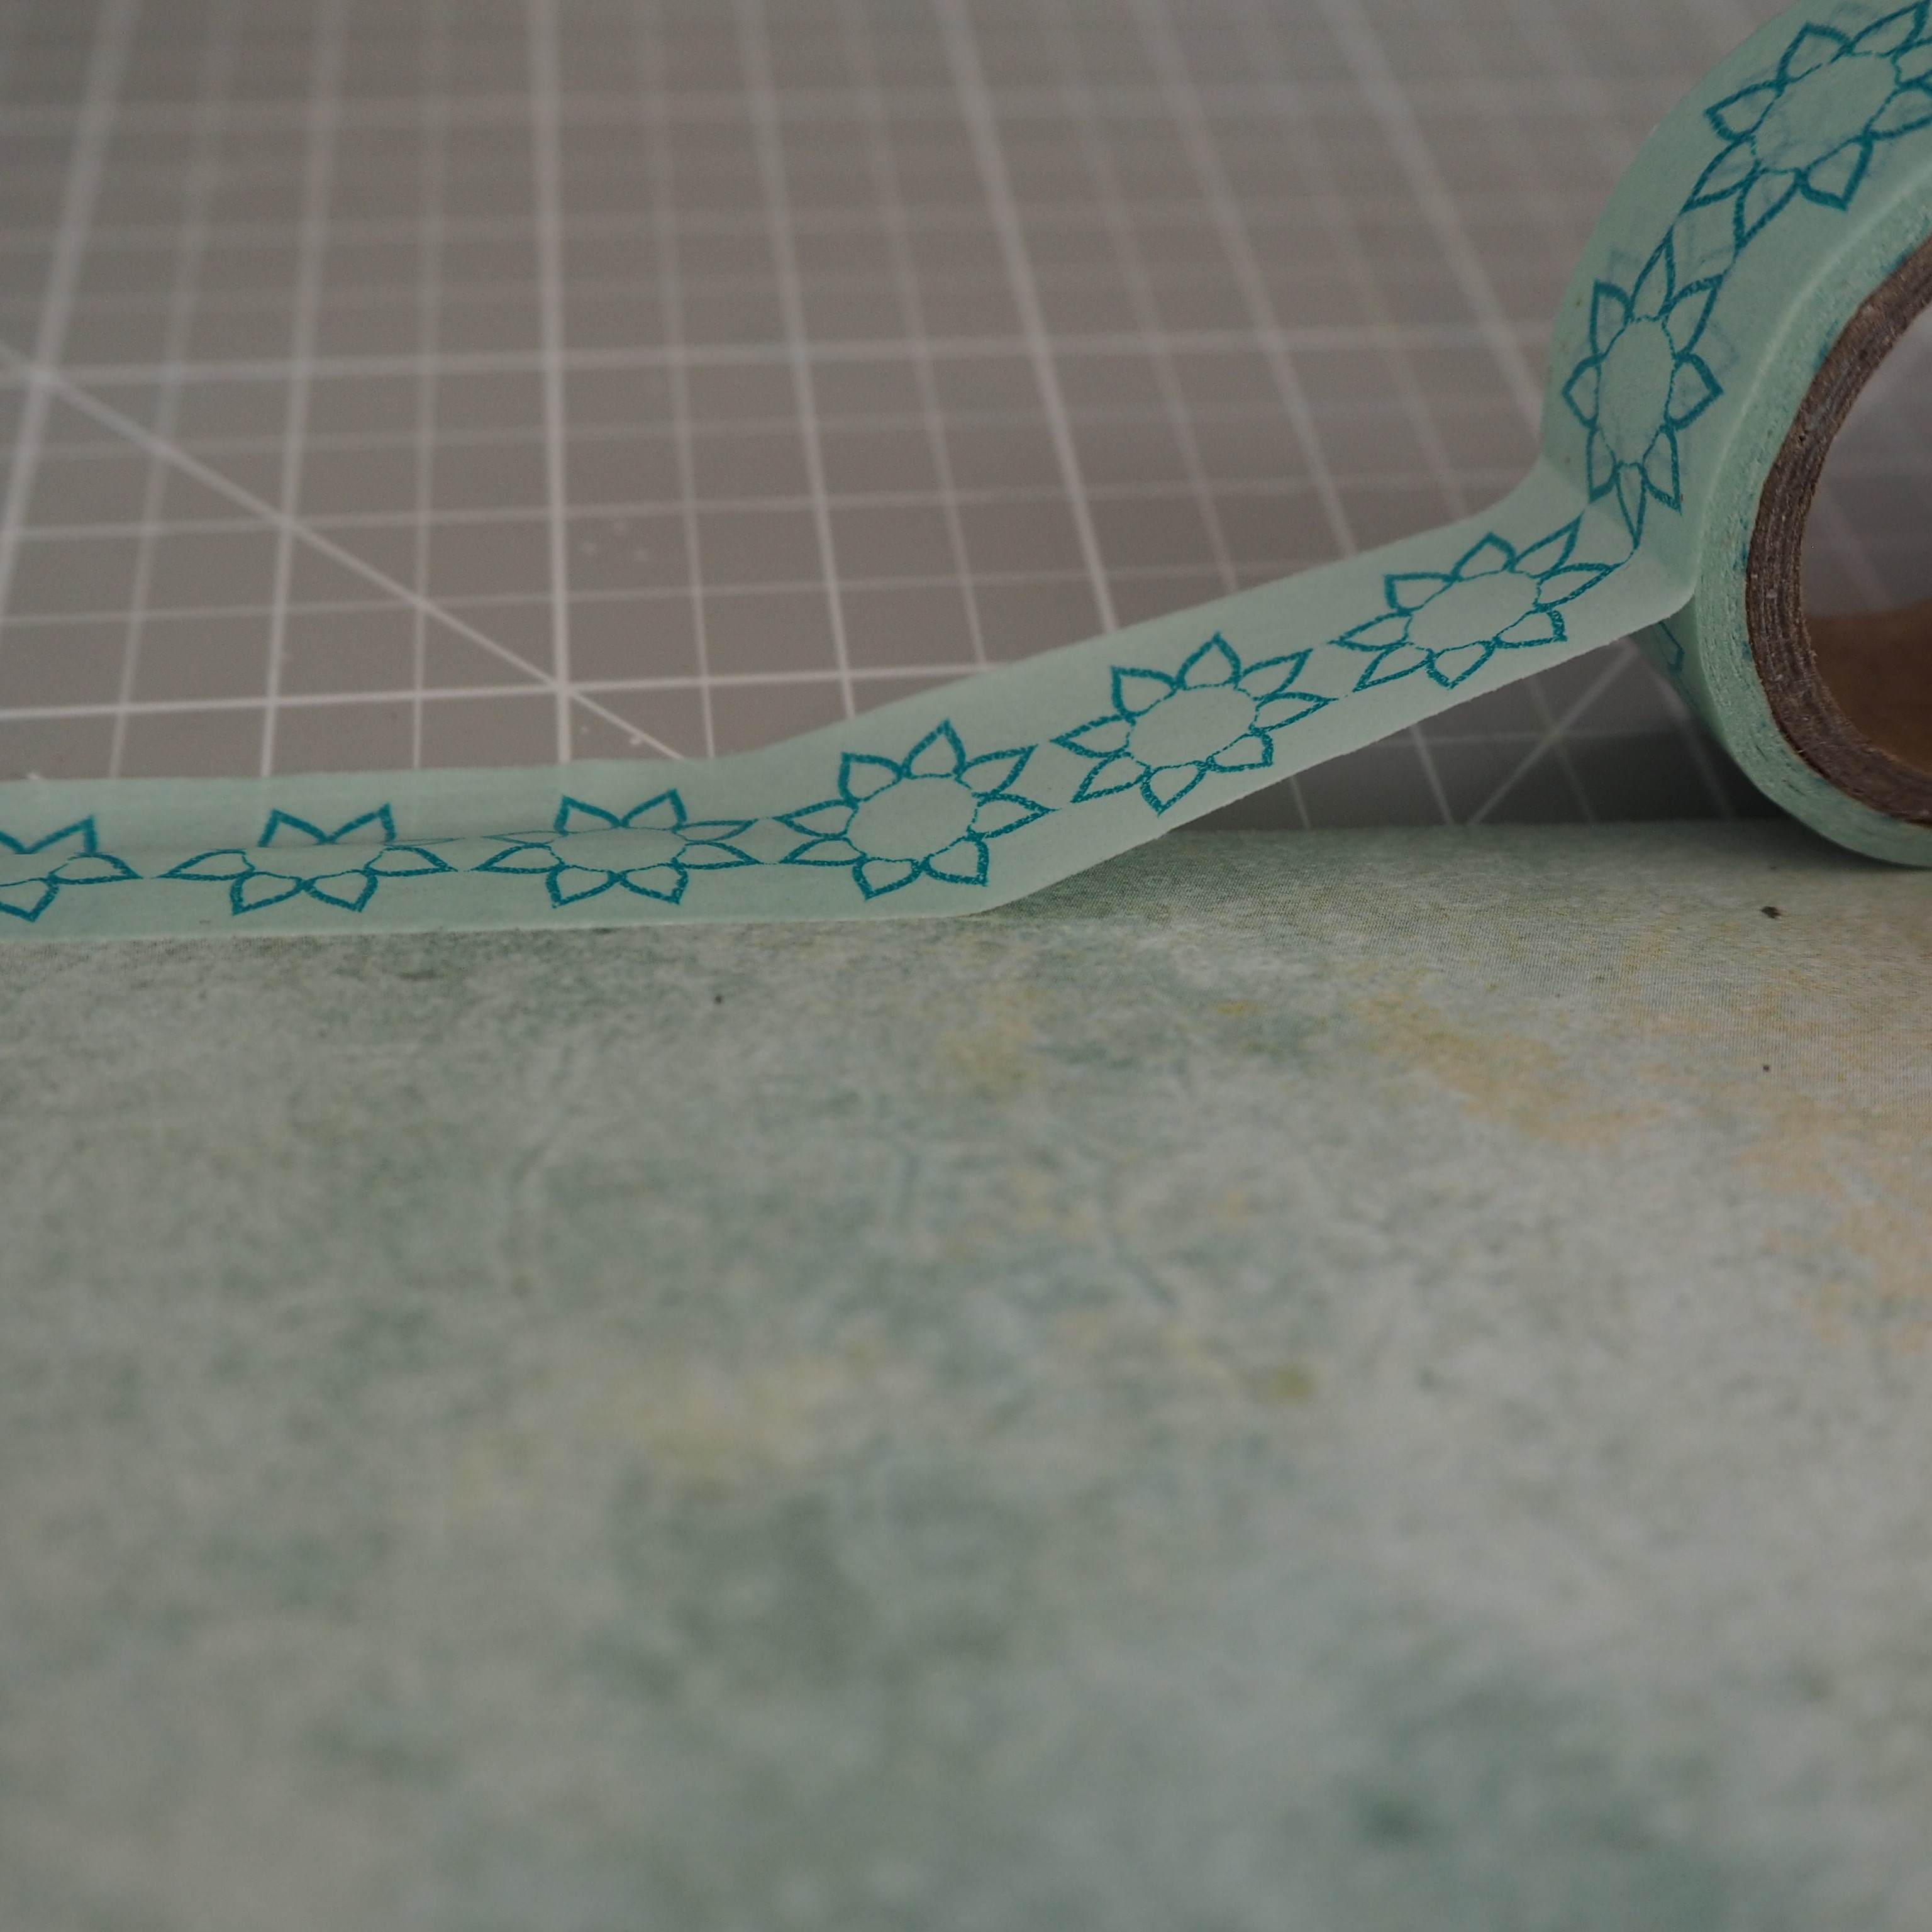
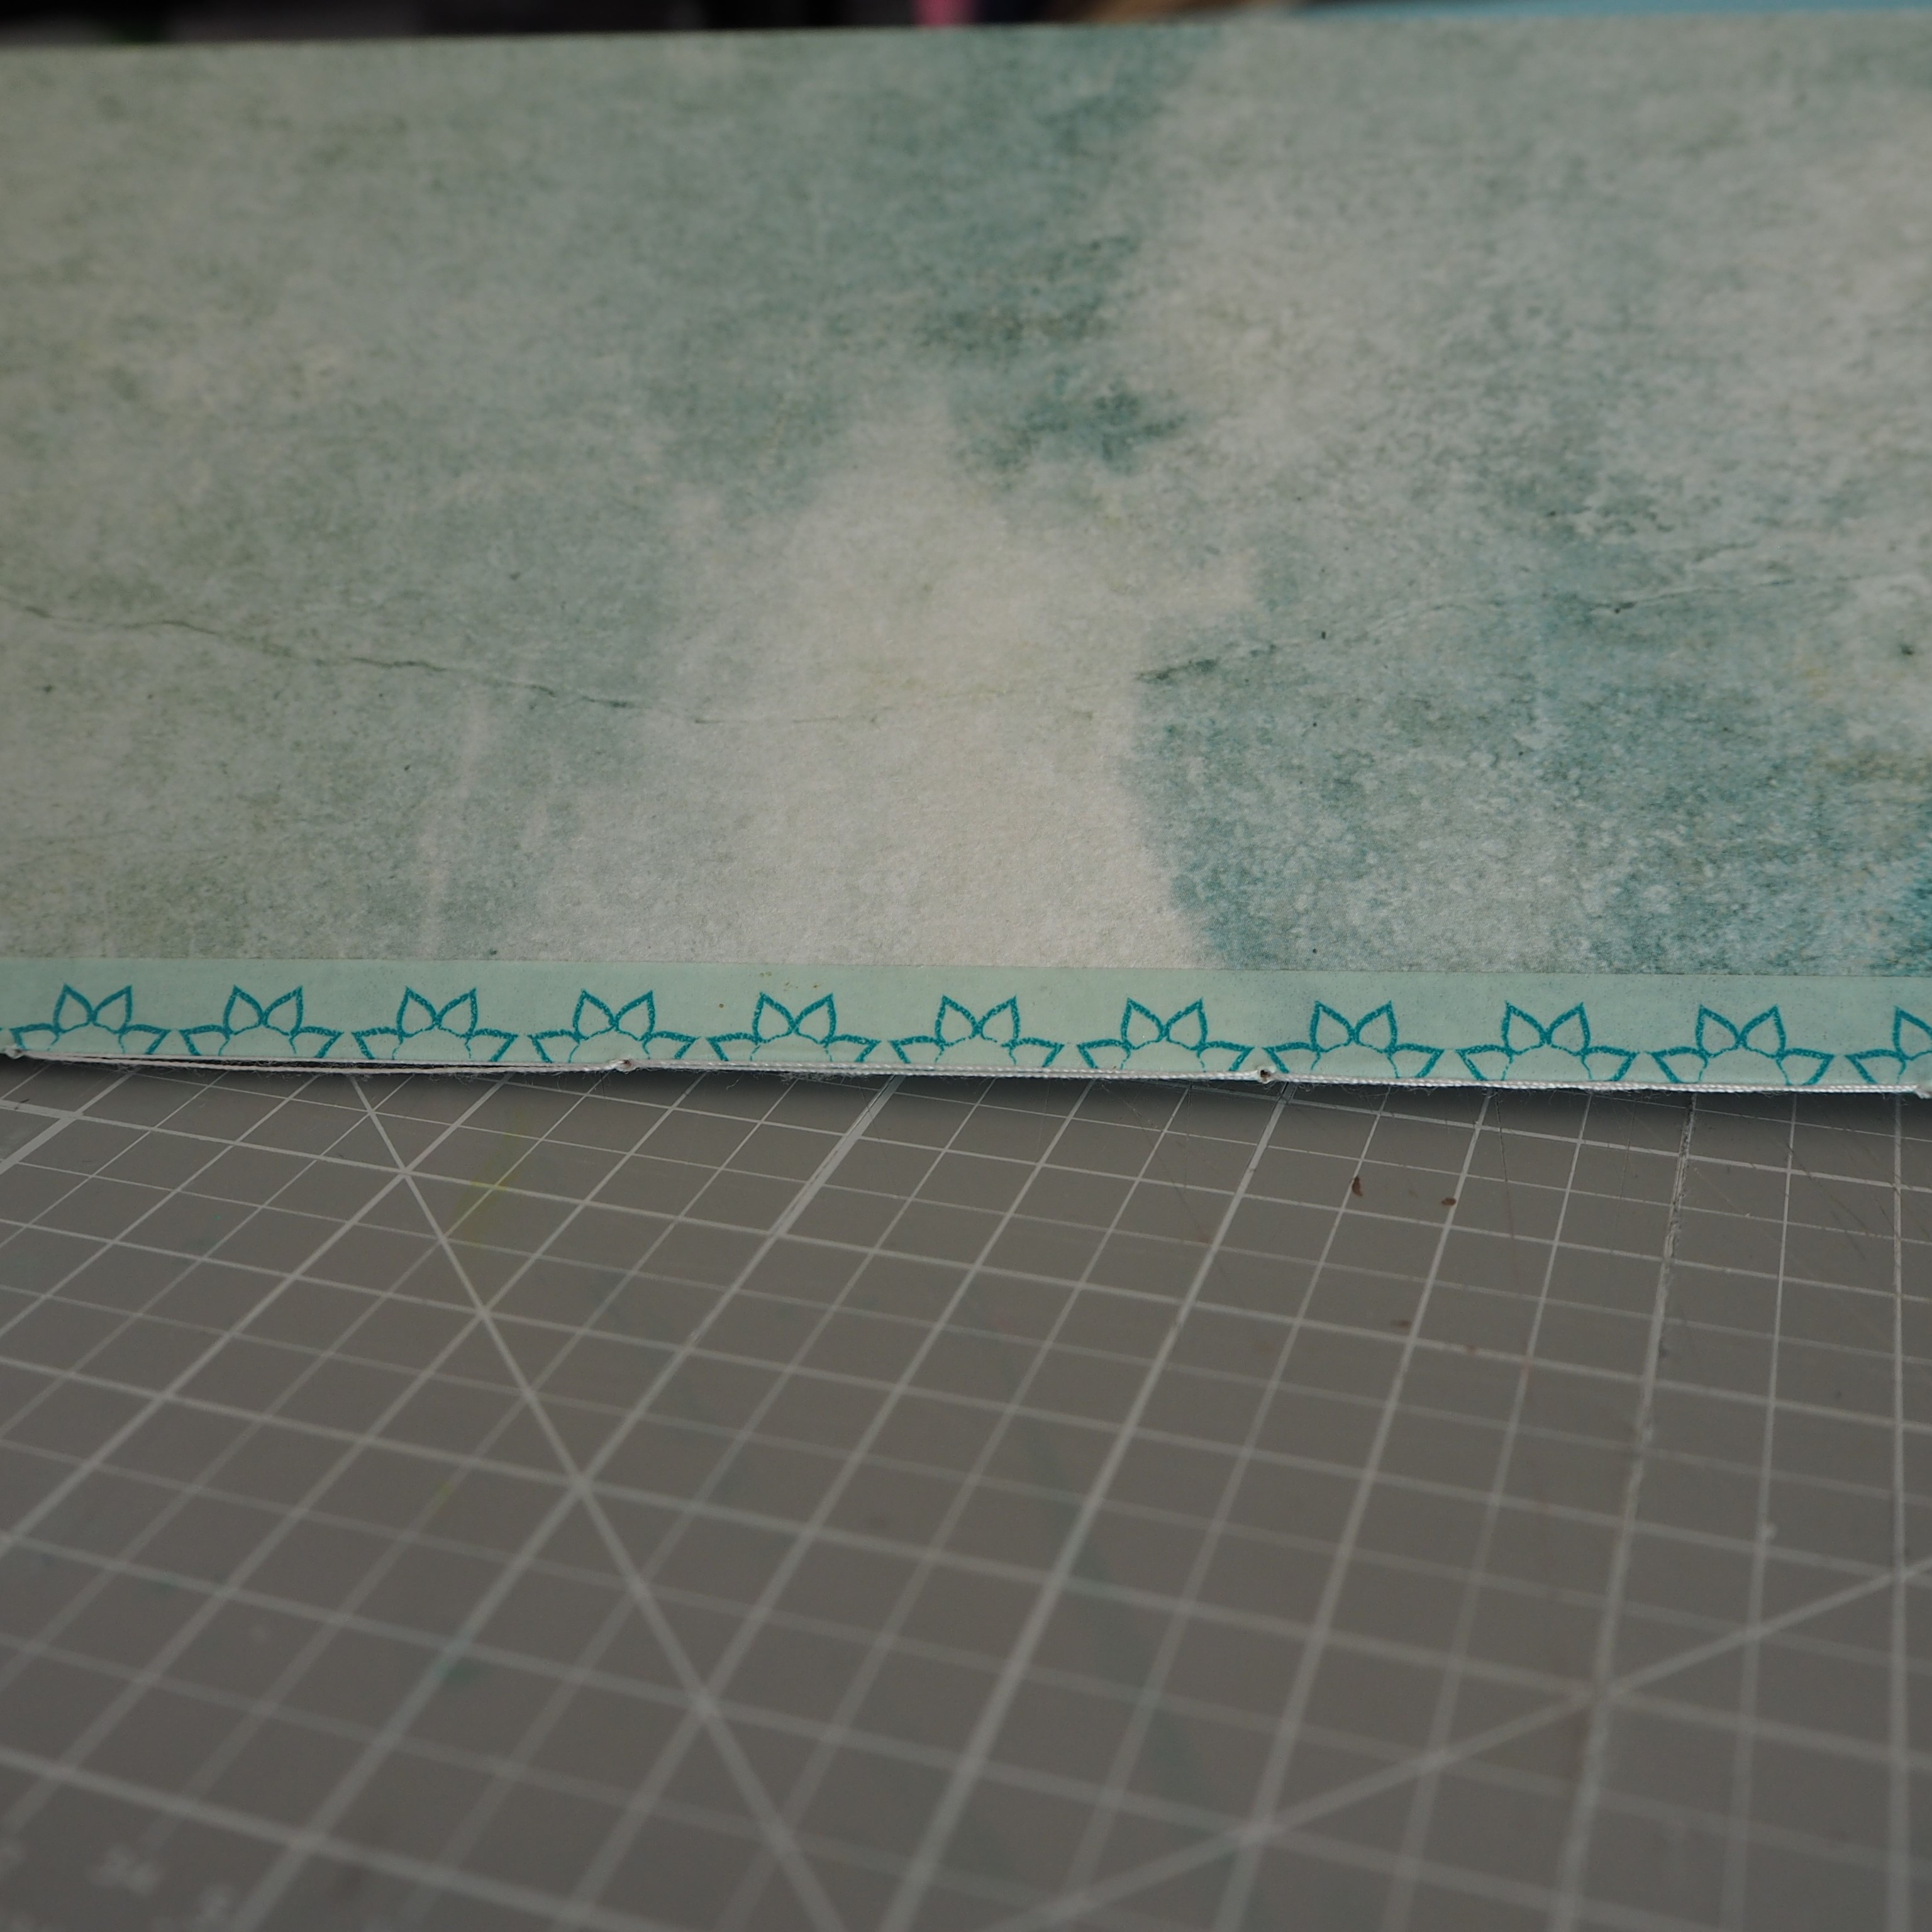
If you want to reinforce the back of the book you kan use washi tape.
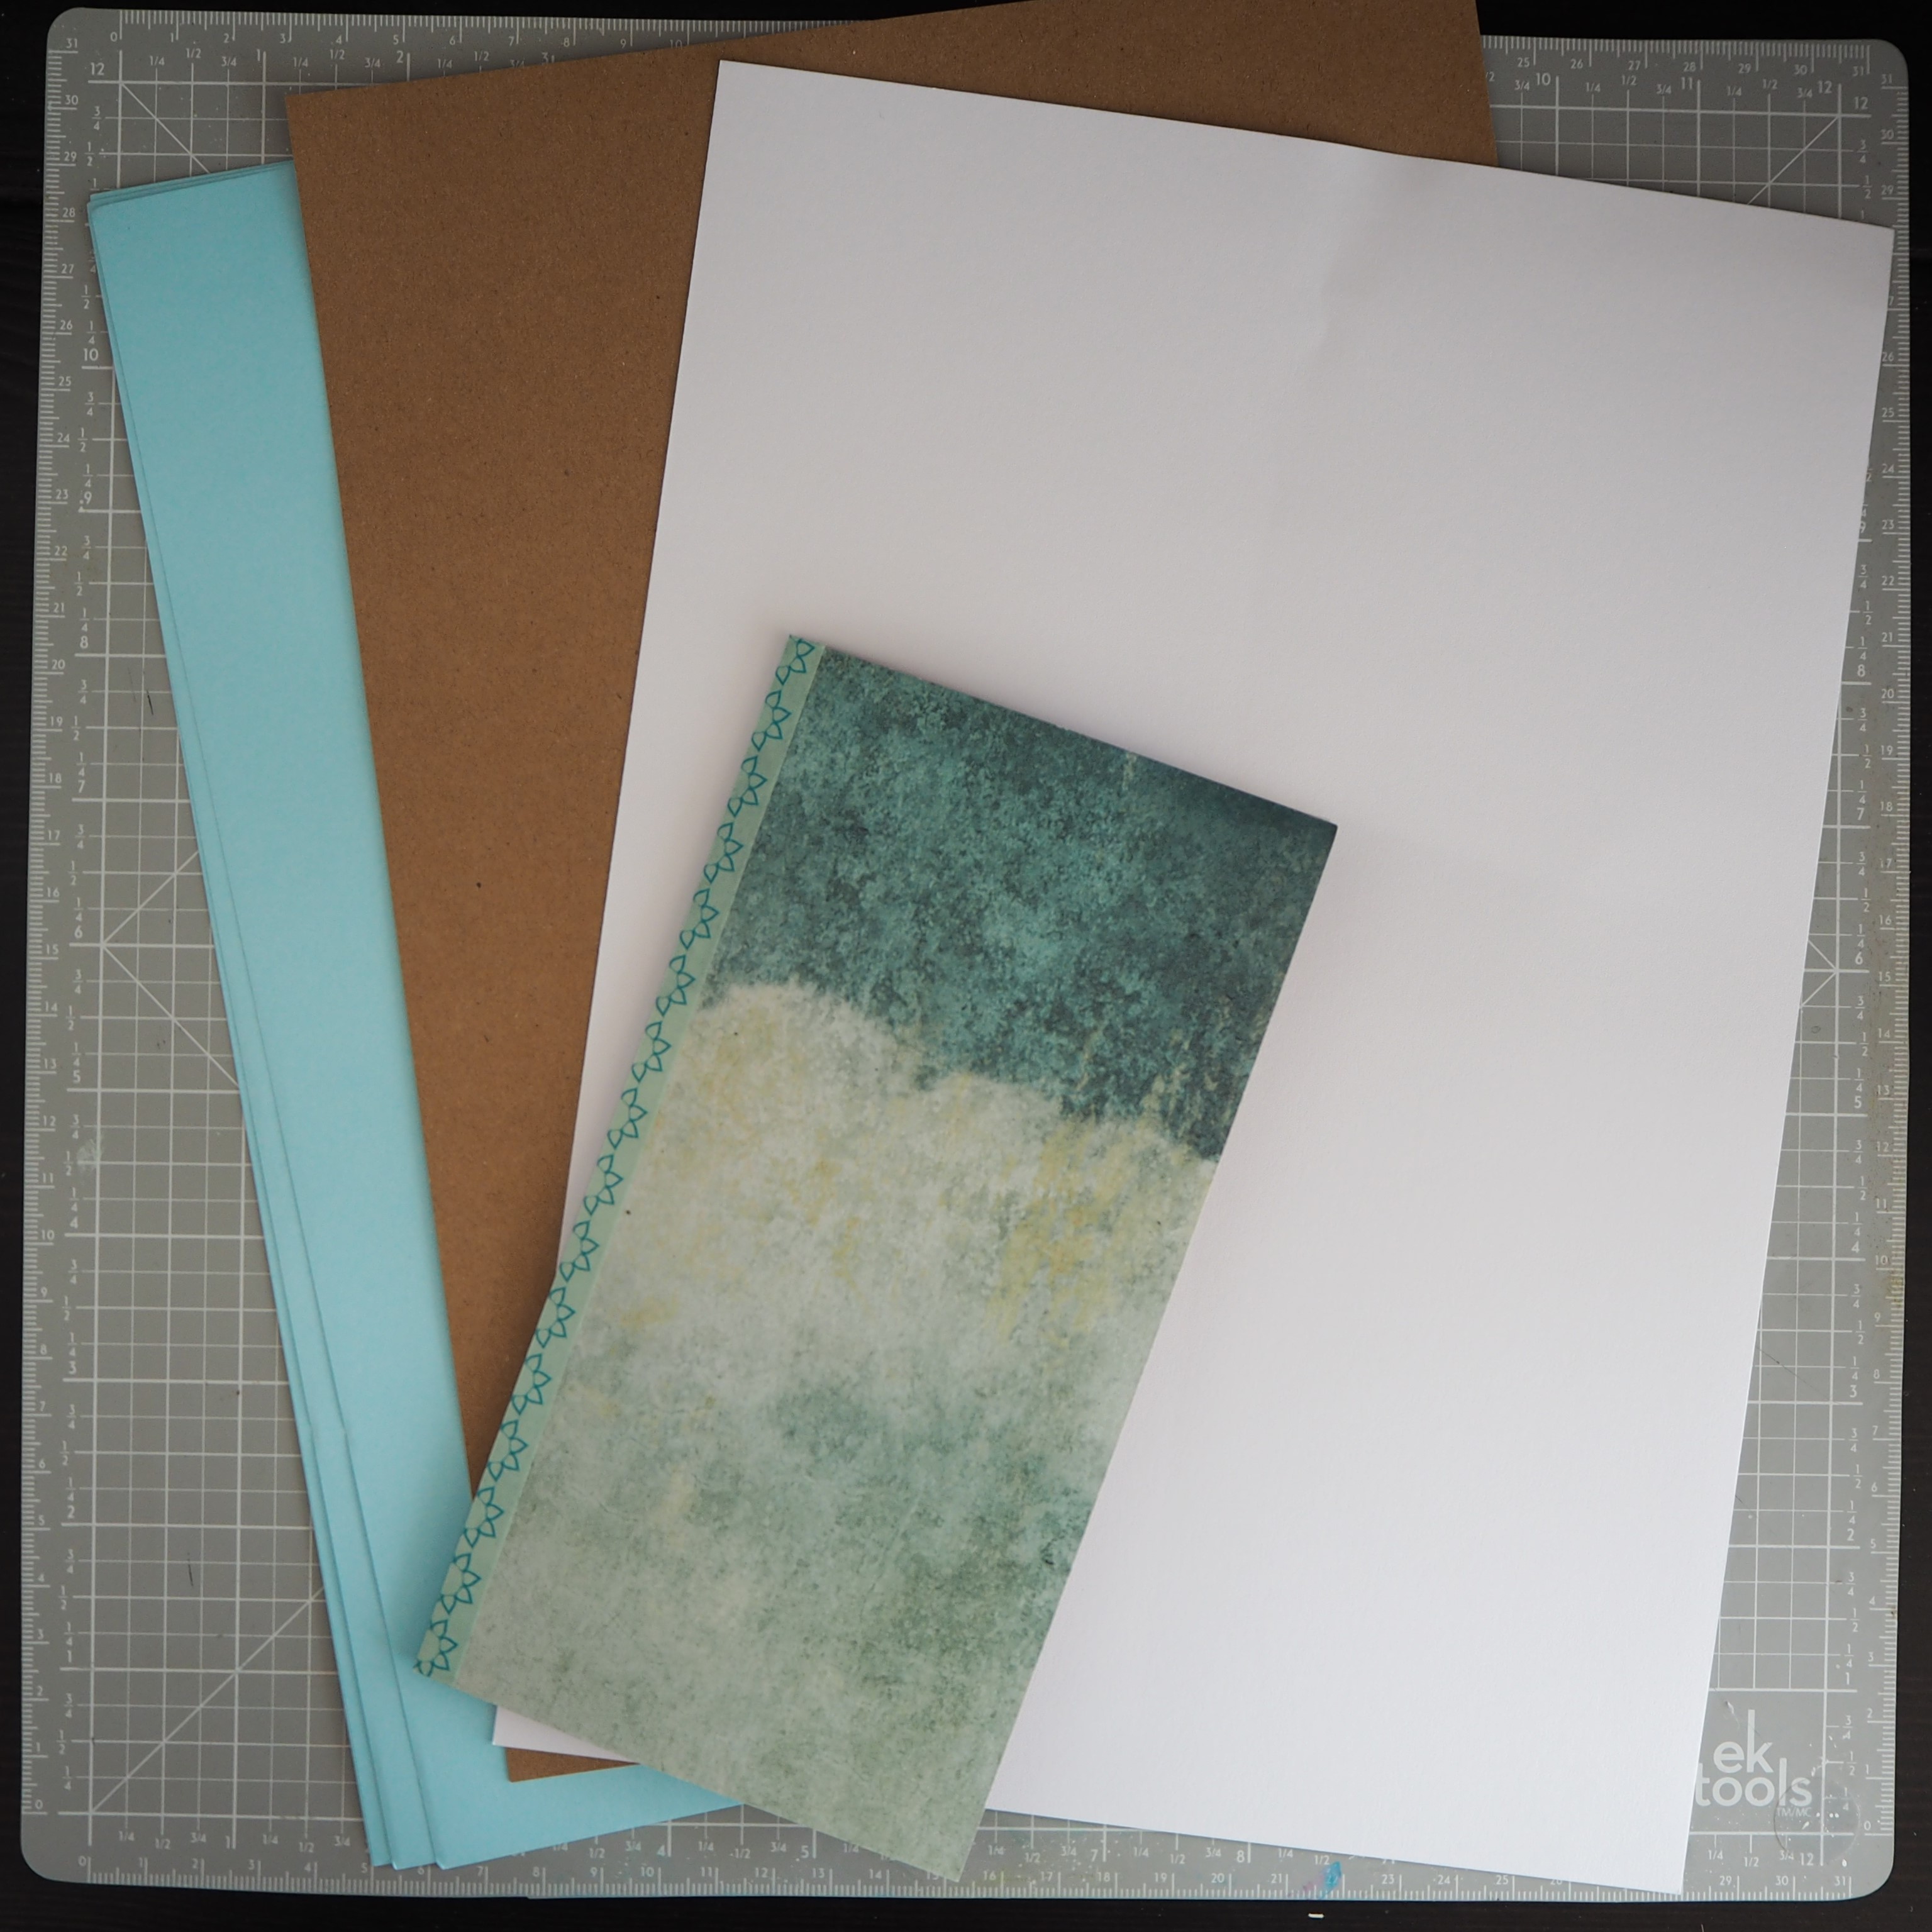
Now make the inside paper in the same way you made the cover. You can use all kinds of paper.
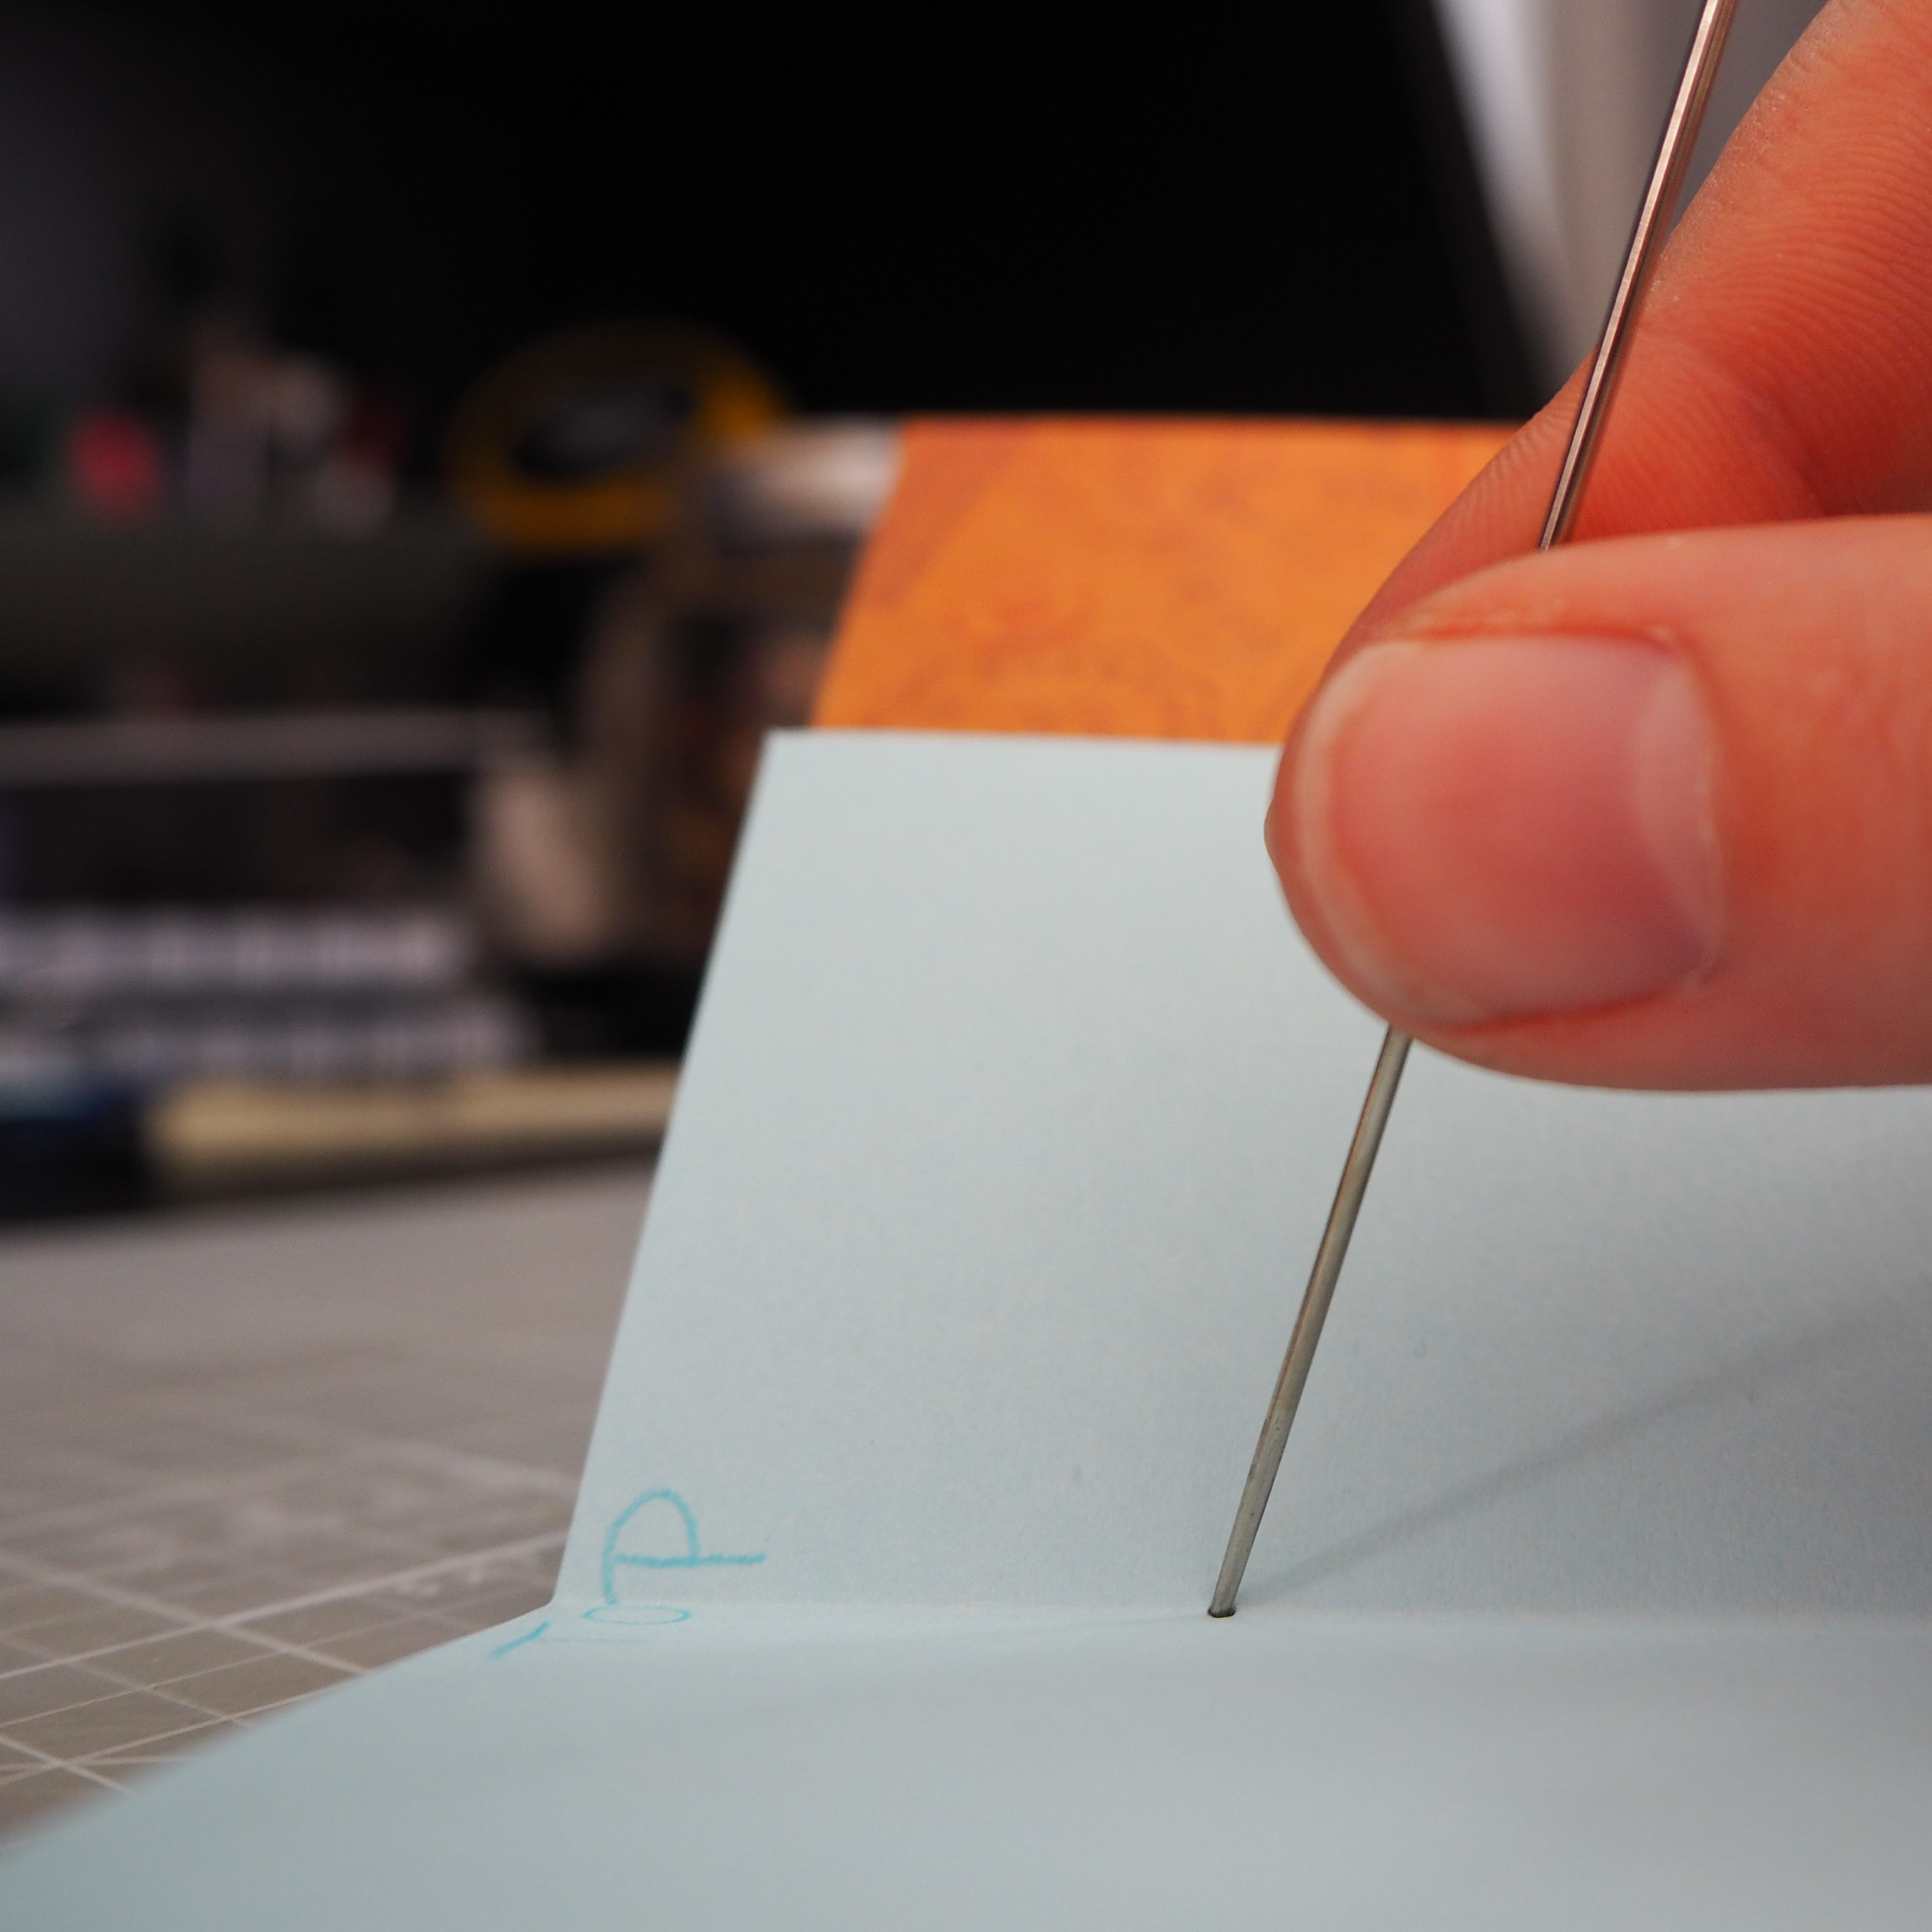
To bind the book you can simply use a stapler or you can use string as shown in the pictures.
You can embellish your notebook as much as you want to make it a piece of you.
Now all you have to do is see all the wonders in your day and see the tiny little sun rays peek through the clouds. Make those rays into great memories by writing them down in your new notebook.