How to make watercolor paints.
As summer keeps us company and most of us go on holidays. I wanted to clear my mind to start my 2 weeks of time for myself. I have been watching a few videos about paint making and looked up some pigment information.
After picking out some non poisonous ingredients and special tools I was ready to start. I started my first batch on the first day of my vacation and was pleasantly surprised at how time flew by. It was really peaceful, without me thinking and pondering about things I had no control over at that moment
This is exactly why I wanted to share this diy gem with you guys.
I want to start of by saying that paint making is not an exact science. The proportions that I use might not give you the characteristics you like, but that’s exactly what is so appealing about paint making. While you experiment with proportions you might want to write down what you do, so you can recreate it if necessary.
There are some necessary ingredients and tools and some optional ones.
Necessary ingredients:
- Pigment
- Gum arabic (binder)
- Distilled water
Necessary tools:
- Grinding plate (or glass cutting board)
- Palette knife
- Container (pans, tubes or other small container)
The optional ingredients and tools might not be essential, but can make your experience a lot more relaxing.
Optional ingredients:
- Glycerine (to help the paint reactivate easier)
- Honey (helps reactivation as well as being a natural preservative)
- Clove or thyme oil (if you need a stronger preservative)
- Ox gall (to help the paint spread more on paper)
Optional tools:
- Glass muller (to disperse the pigment in the binder)
- Spray bottle (to hydrate while working the paint)
- Dropper bottle (for precise application of liquids)
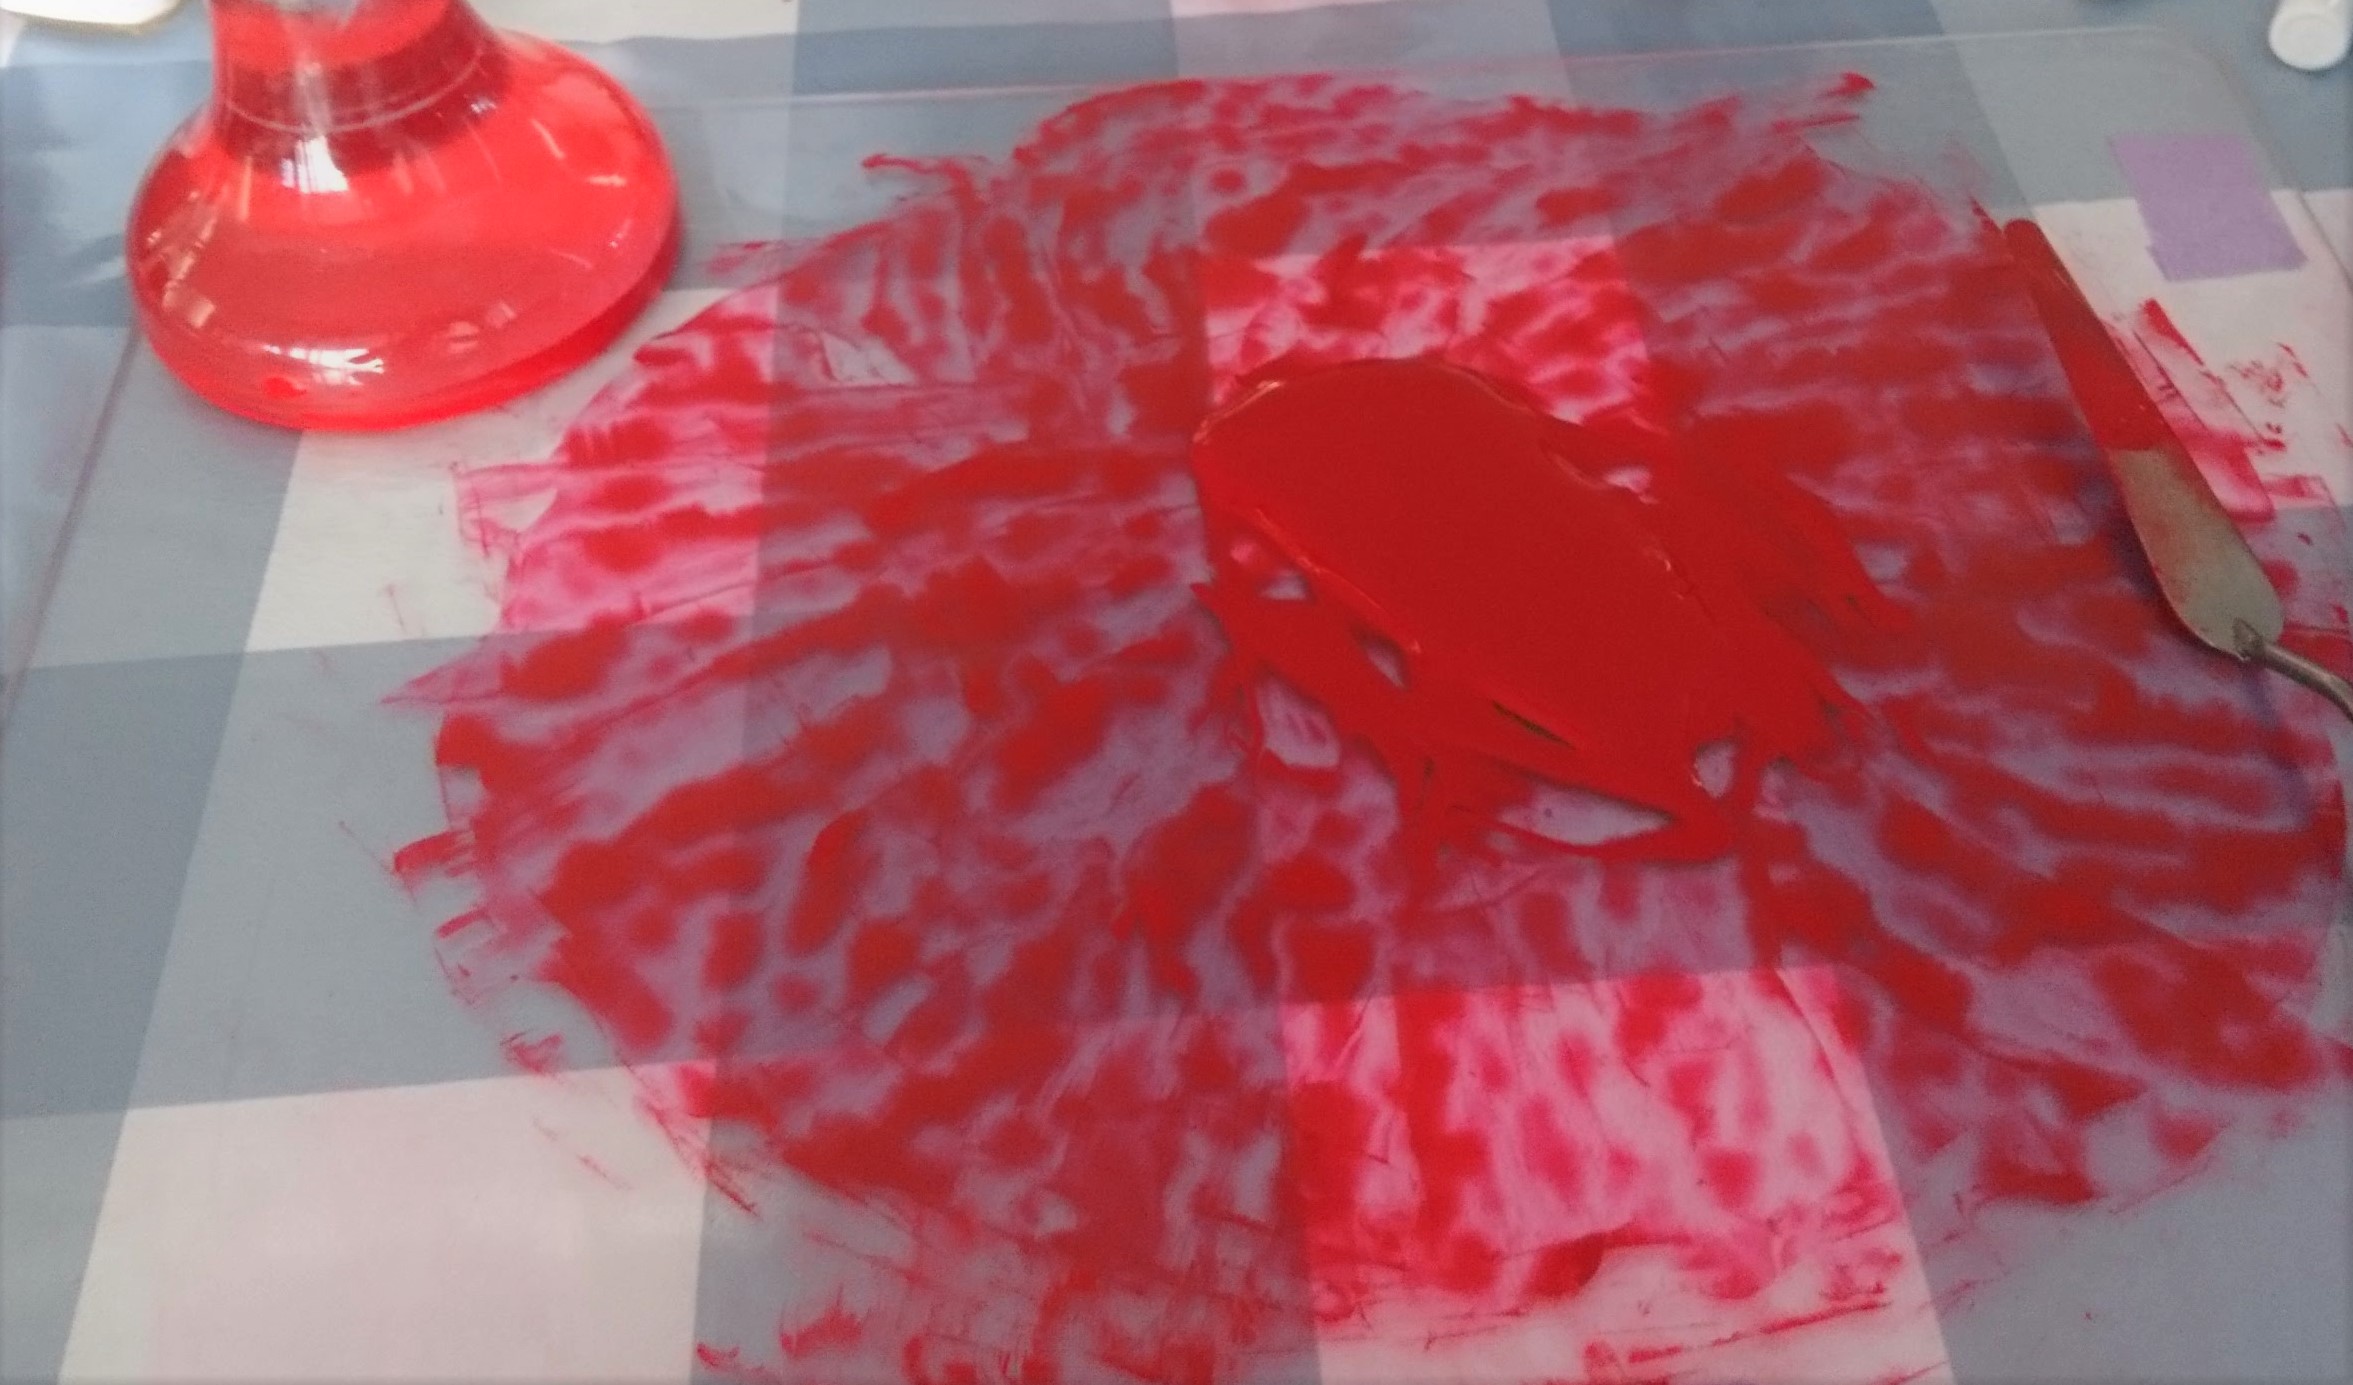
Once you have decided what you want and need, the rest is a piece of cake and you can relax. Enjoy the process, especially the mixing and mulling.
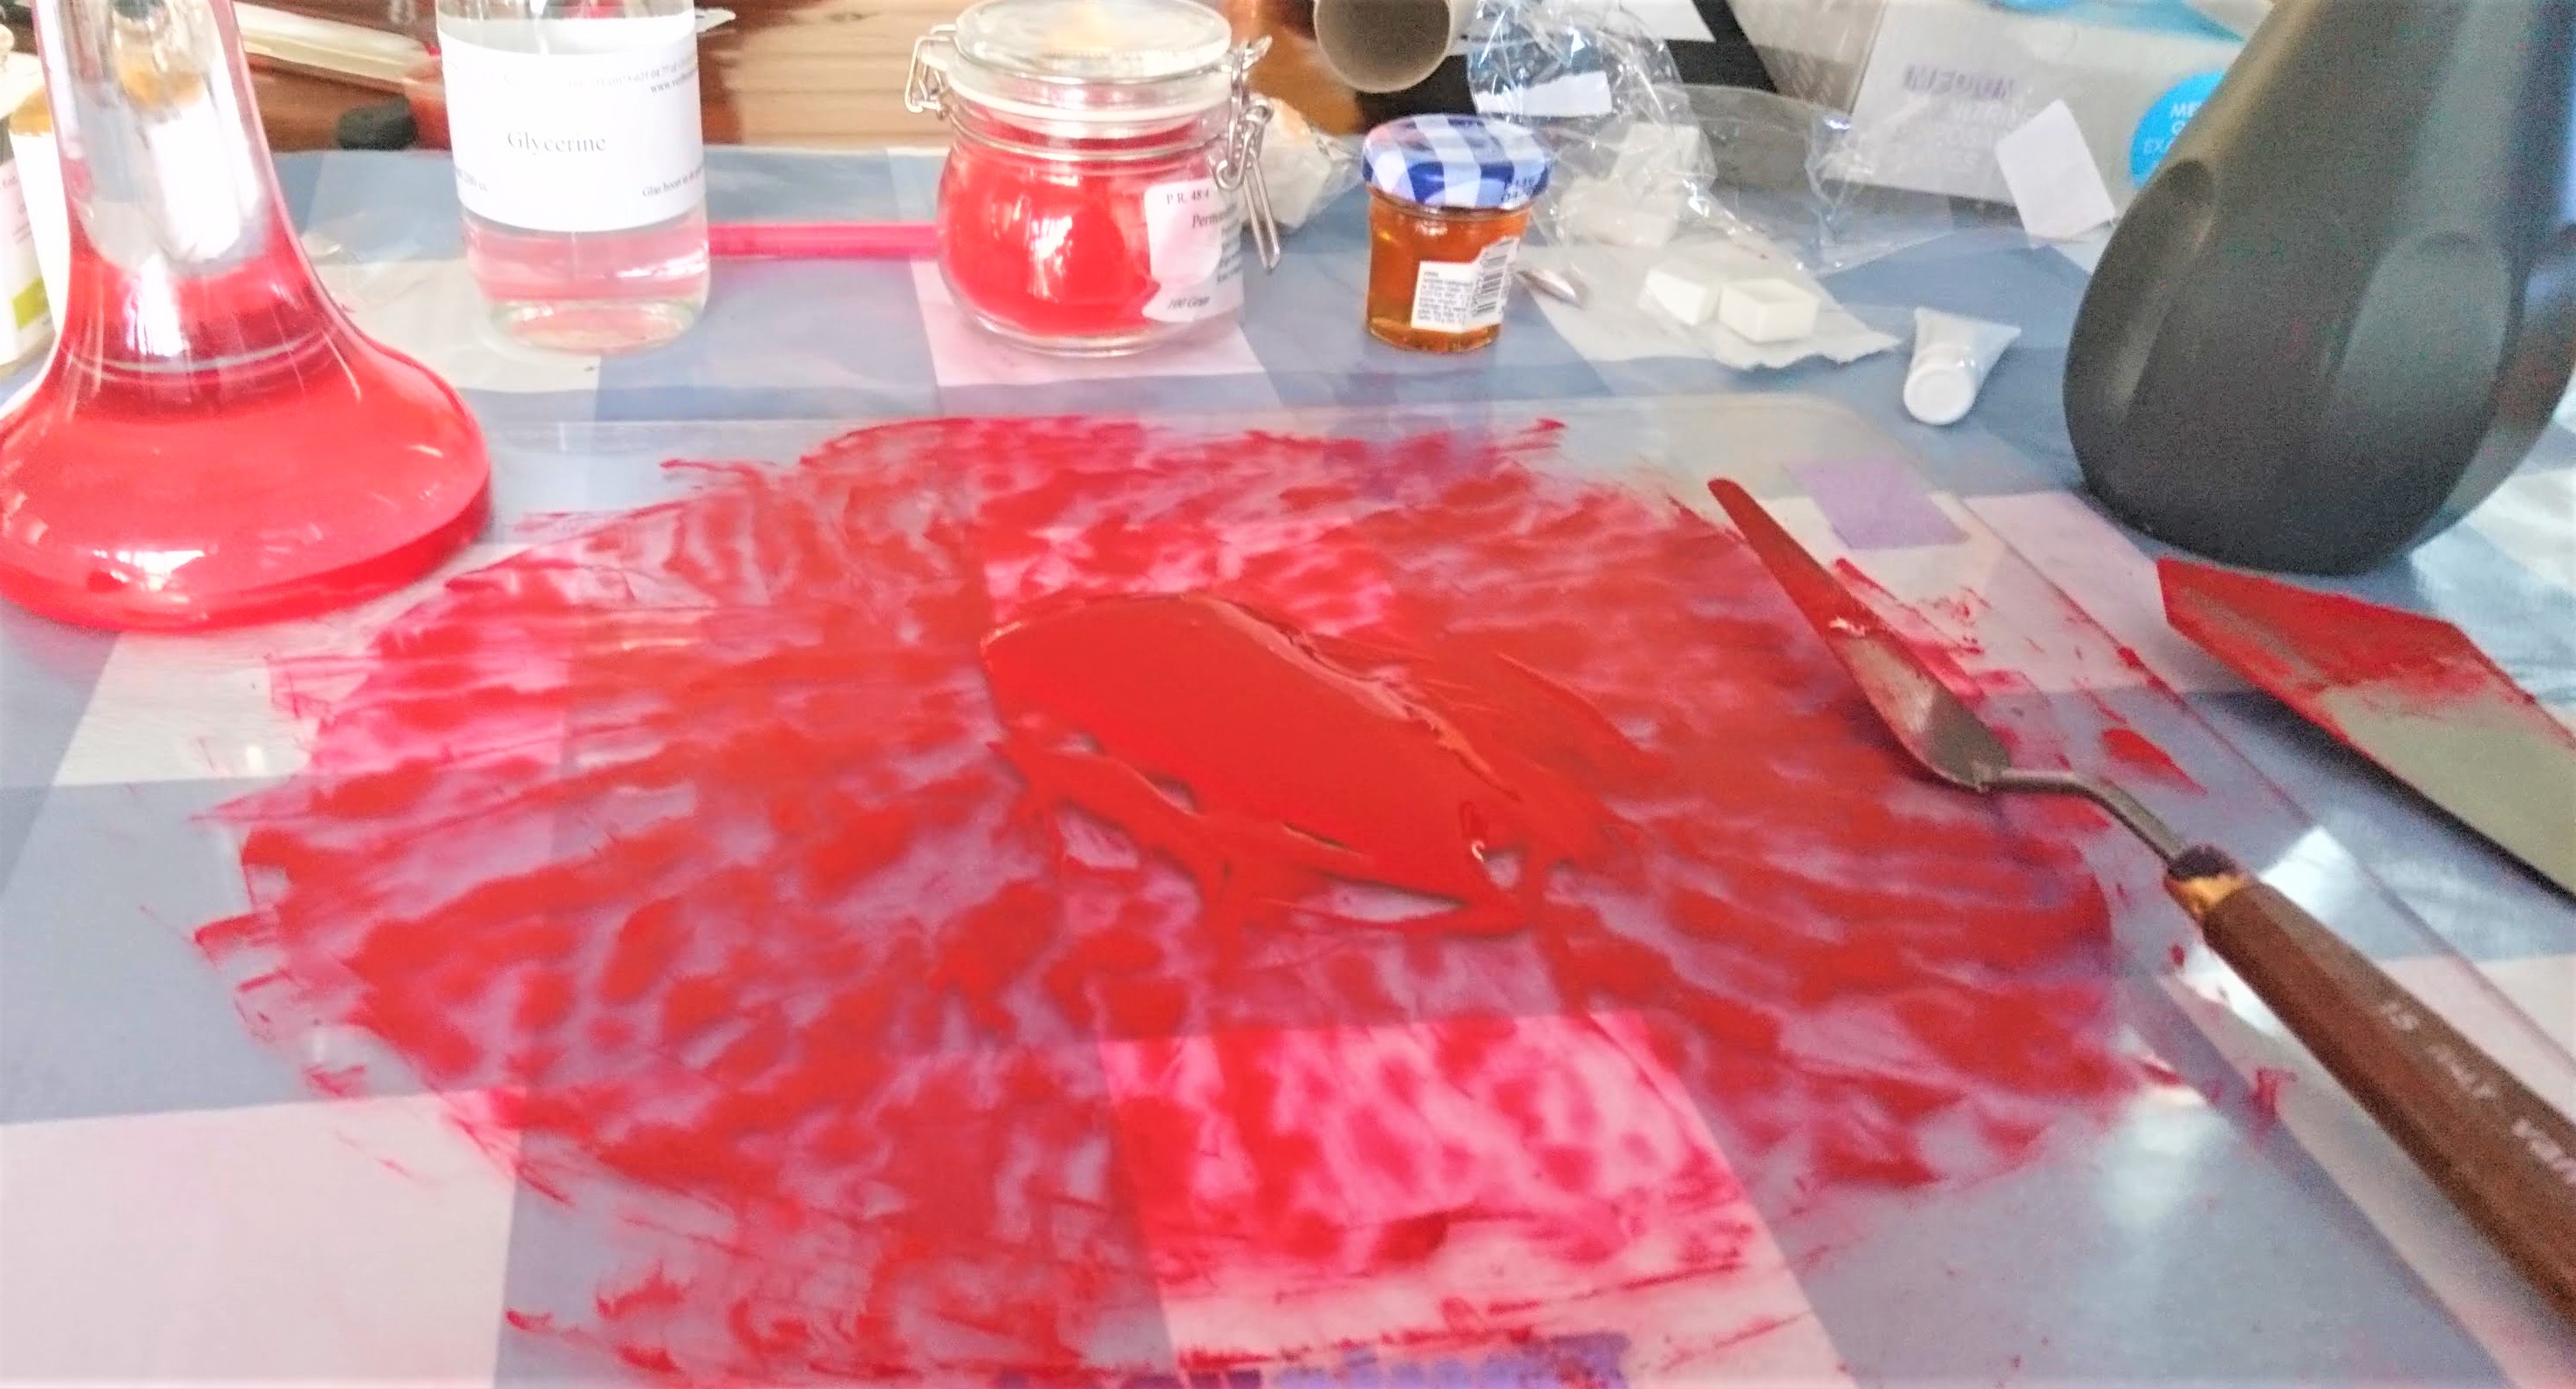
Start with mixing equal parts of pigment and gum arabic. Try to get it to a uniform paste. If you don’t feel like it is liquid and flowy enough you can add some distilled water to help the consistency. Add a small amount of the additives, if you choose to use them, and mix everything well.
Now comes the part I love and enjoy the most. If you chose to use the muller for a better dispersion of the pigment into the binder, you’re in for a treat! Place your muller on the edge of your paint blob and start gliding the muller through the paint in a small circular motion. You can change the movement up with moving in a figure 8 as well.
Once you feel like the consistency is right, you can make a swatch of the paint and check the quality. Let the swatch dry. Use a paper towel to rub the paint. If the color transfers to it you have used to little gum arabic. If the paint looks shiny on the swatch, you have used too much. Also check the characteristics you wanted and fine tune everything as you want it to be.
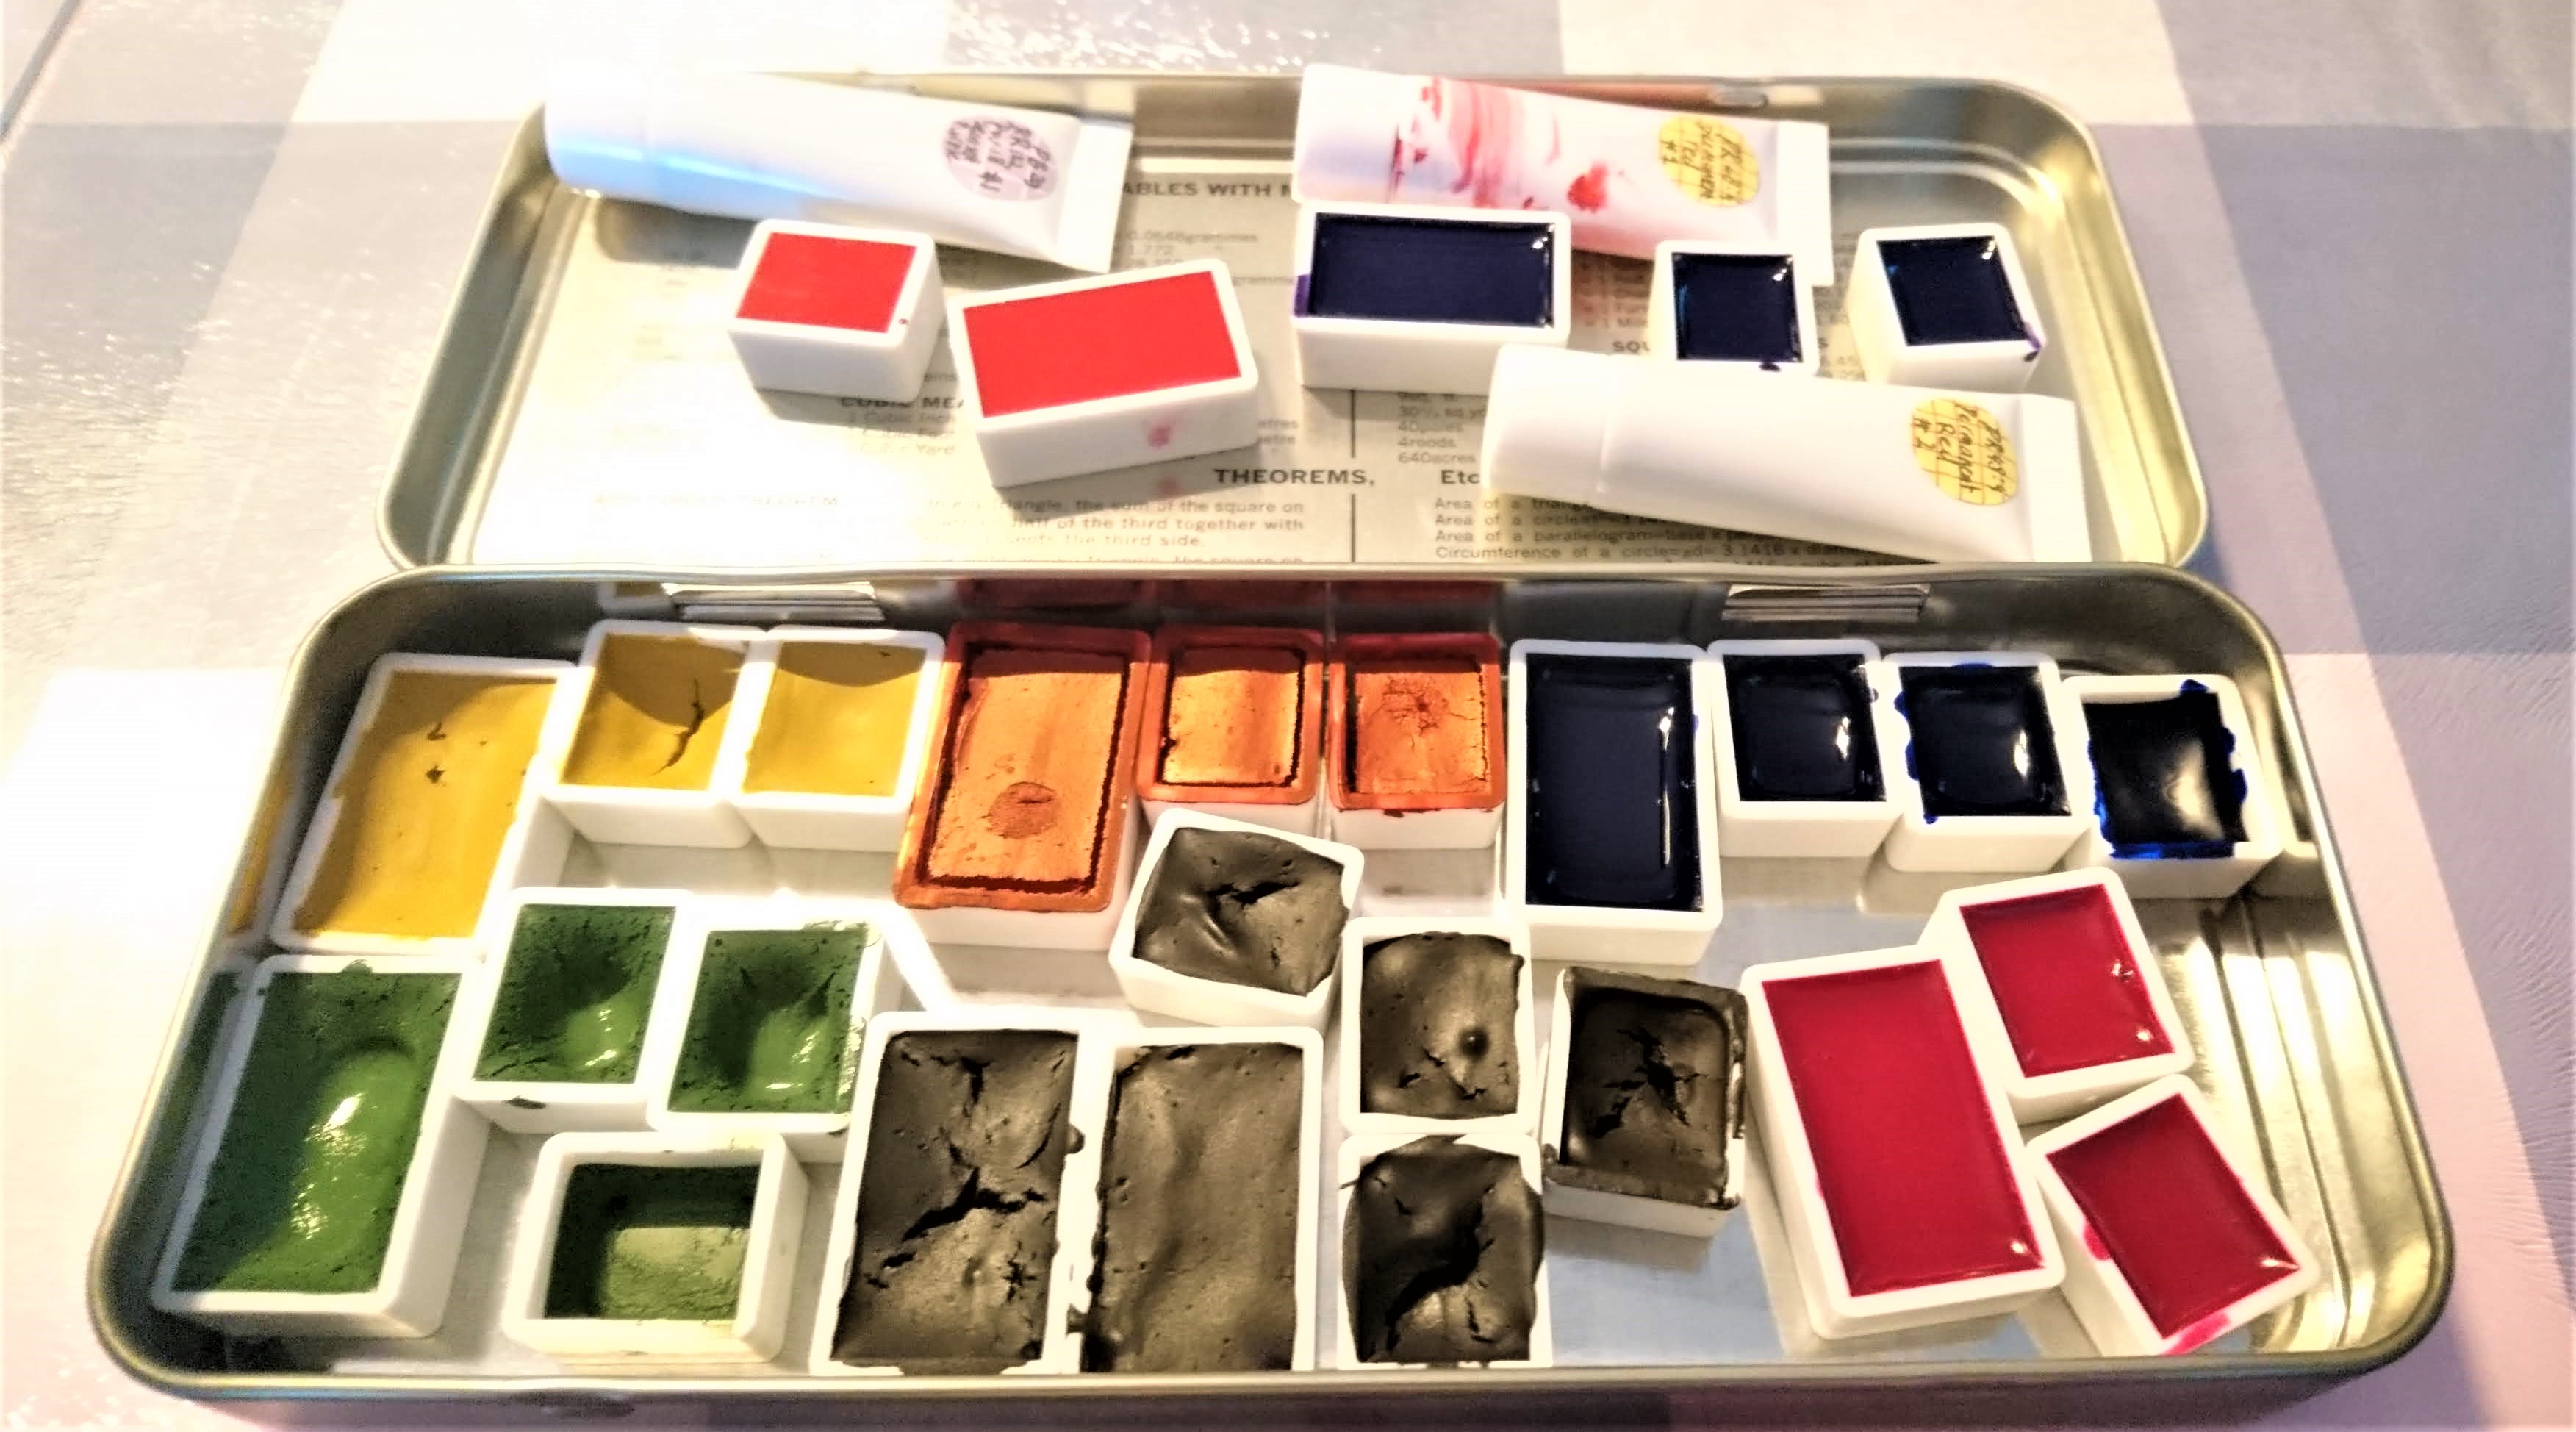
Once you’re satisfied with the outcome, you can put the paint in the container you chose and you are ready to start the next color. I chose to use half and full pans as well as some small tubes for the excess.
My first batch wasn’t perfect but I’m going to love perfecting my recipes. The part I love most is mulling the paint. It is such a satisfying feeling and I can really clear my mind. Someone even said I looked like a buddhist monk while mulling haha.
If you liked this post and would like me to have a follow-up on the paint making journey please let me know in the comments. I was also maybe thinking of doing a giveaway of some sets of handmade paint. If you would be interested in that as well, just let me know. If so I will include that in the follow-up.
One Comment
Carin
Heerlijk om weer te lezen
Ik hou me aanbevolen voor de verf ?